Sola-Site-Logo
Search

Home » Blog » Wall-Mounted Pergola: Solar Ideas, Installation & Buying Guide

Wall-Mounted Pergola: Solar Ideas, Installation & Buying Guide

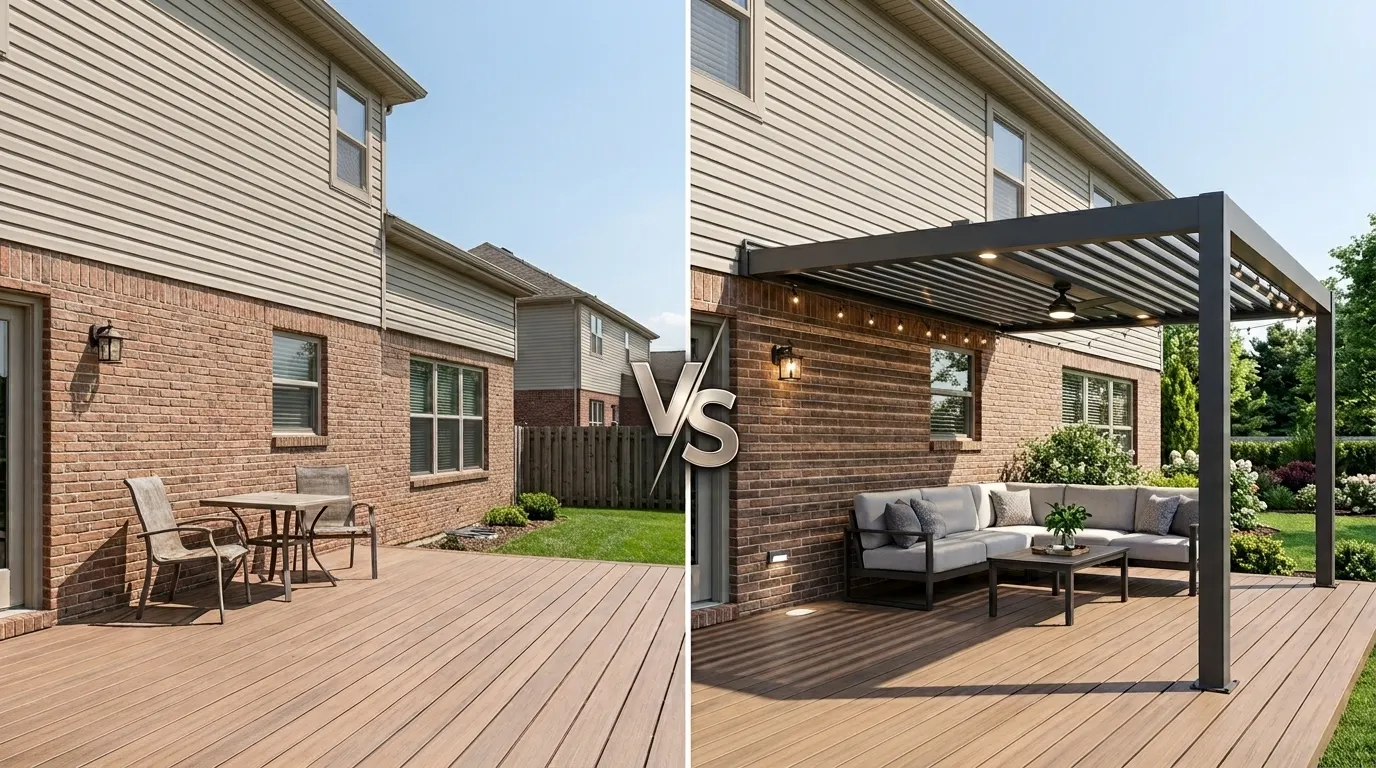
backyard deck before and after wall mounted louvered pergola installation

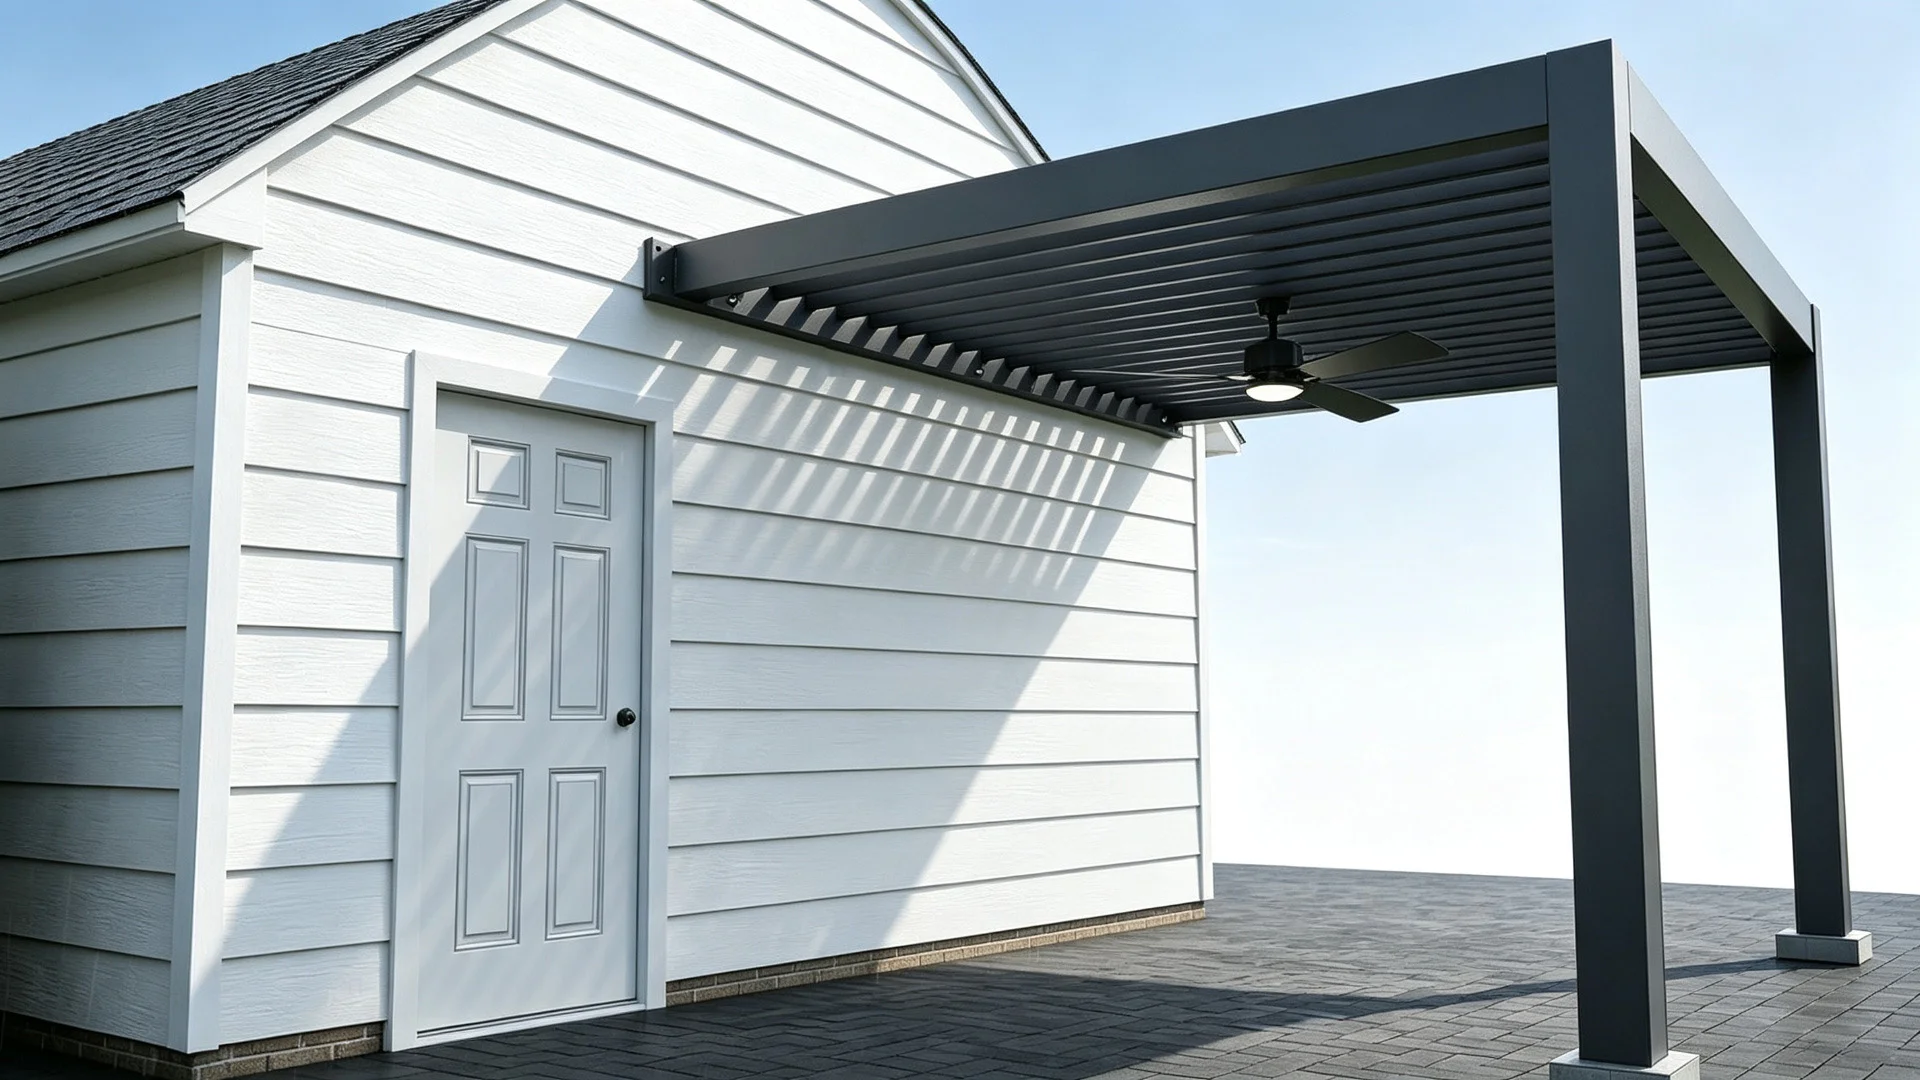
A wall-mounted pergola turns the blank wall of your house into a shaded, inviting outdoor room — one that flows directly from your back door into a comfortable lounge, dining, or relaxation zone.

But here's what most buying guides skip: not every wall-mounted pergola is the same. A basic open-rafter wood kit gives you dappled shade and nothing else. A modern solar louvered wall-mounted pergola gives you adjustable sun control, rain protection, built-in lights and fans — and zero electrical work. The gap between these two options is enormous, yet most articles treat them as interchangeable.

If you're researching wall-mounted pergolas (also called attached pergolas), you're likely weighing three questions: Will it damage my siding? How do I handle rain runoff? And should I go with a budget wood kit or invest in a solar louvered system?

In short: a wall-mounted pergola is a two-post shade structure that bolts to your house exterior, extending your living space outward without consuming yard space.

This guide answers your questions — plus covers the installation details most homeowners miss, compares real design options, and shows actual Sola wall-mounted installations to help you visualize the result.
What Is a Wall-Mounted Pergola?

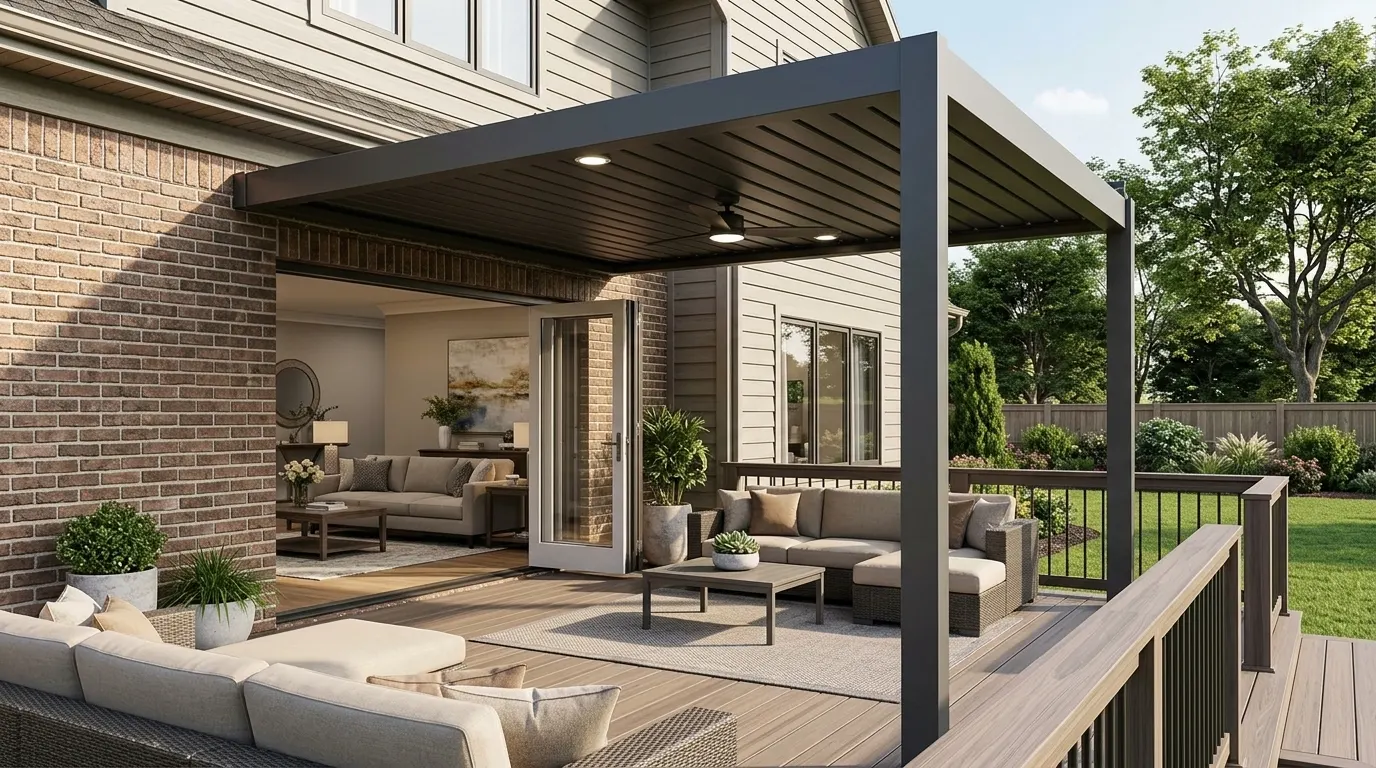
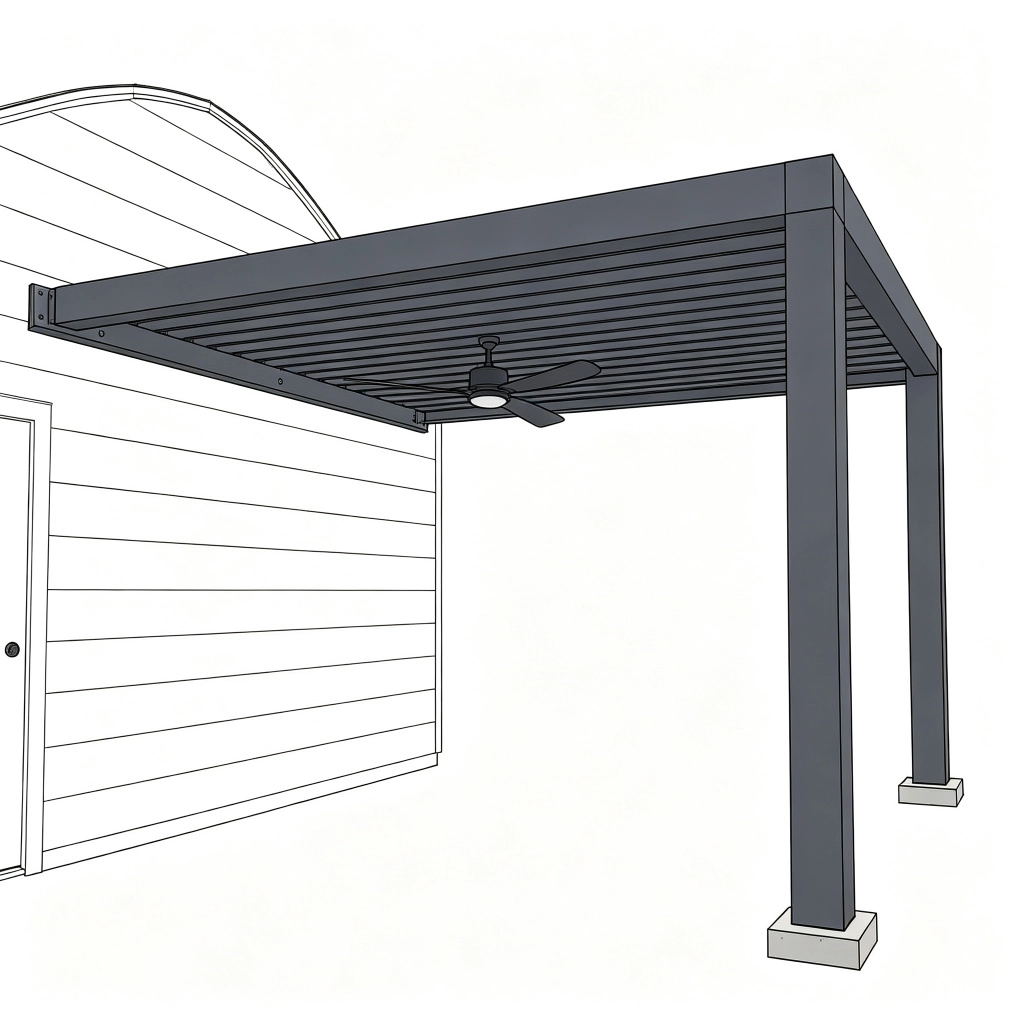
A wall-mounted pergola (also called an attached pergola) uses your house wall as one support side and two freestanding posts on the outer side. Instead of four posts standing independently, the structure anchors to your home — creating a seamless extension of your indoor living space.

How It Actually Attaches to Your House

Picture this: you're standing in your backyard looking at the blank wall of your house. How does a big aluminum frame physically bolt onto that wall?

The standard way — a ledger board. Think of it like a shelf bracket but much bigger. A heavy horizontal aluminum beam bolts directly through your siding, through the sheathing, and deep into the wooden studs inside your wall. The pergola's back beam then sits on and bolts to this beam. It's the same method builders use to attach deck railings to houses — it's been tested and proven for decades.

wall-mounted aluminum pergola attached directly to house wall with

But here's the catch: that horizontal beam has to land somewhere solid. If you try to bolt it into a window area, a door opening, or just thin stucco with nothing behind it, it won't hold. That's why contractors pull out a stud finder and mark the wall first — they need to know exactly where the wooden 2x4s are inside, and line the back beam up with them.

When you can't use a ledger board:

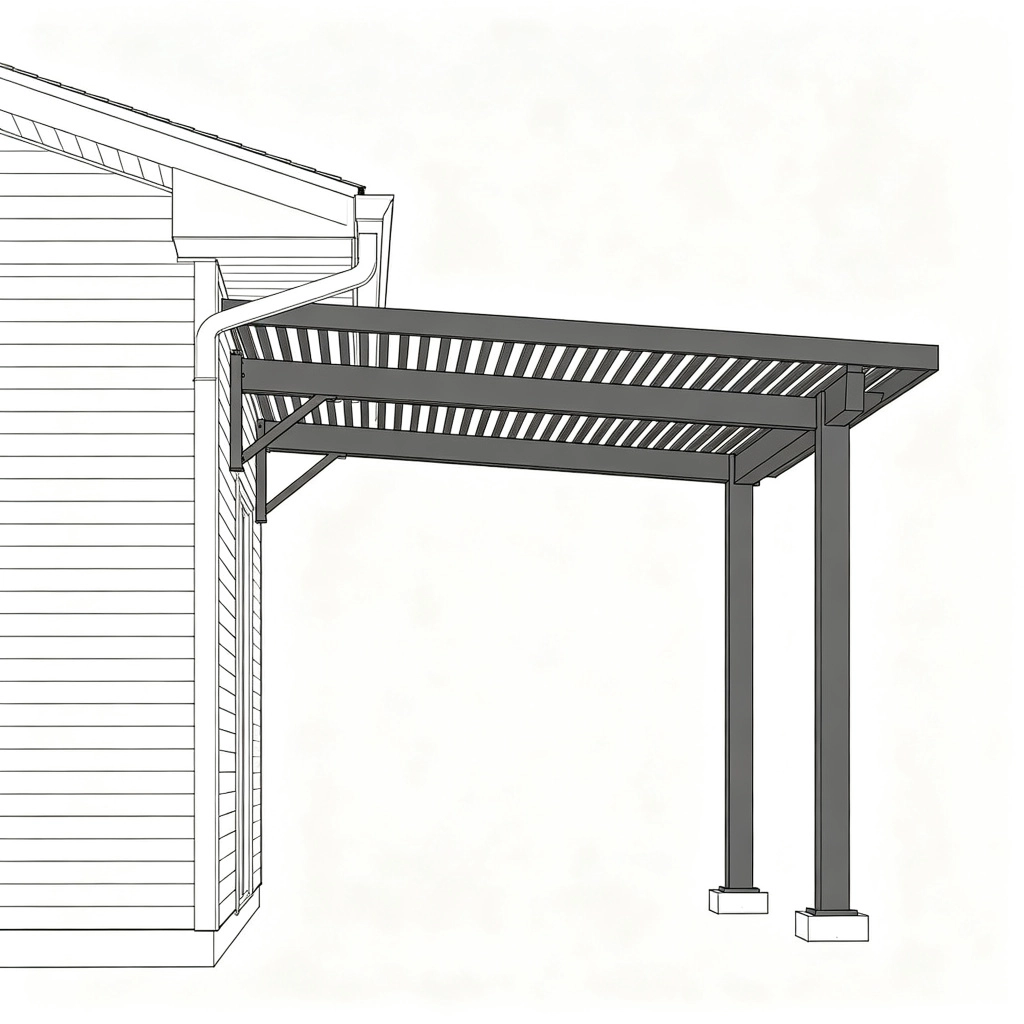
wall-mounted pergola fascia mount attachment to house roof overhang
  • No clear wall space. If your back wall is mostly sliding glass doors and windows, there's nowhere to bolt a horizontal beam. In this case, some homeowners use a fascia mount — L-shaped brackets attach to the wooden edge of your roof overhang (the part you see from the ground). The pergola back beam hangs from these brackets, sitting out from the wall rather than flush against it. It works, but it's more complex and requires careful water sealing.
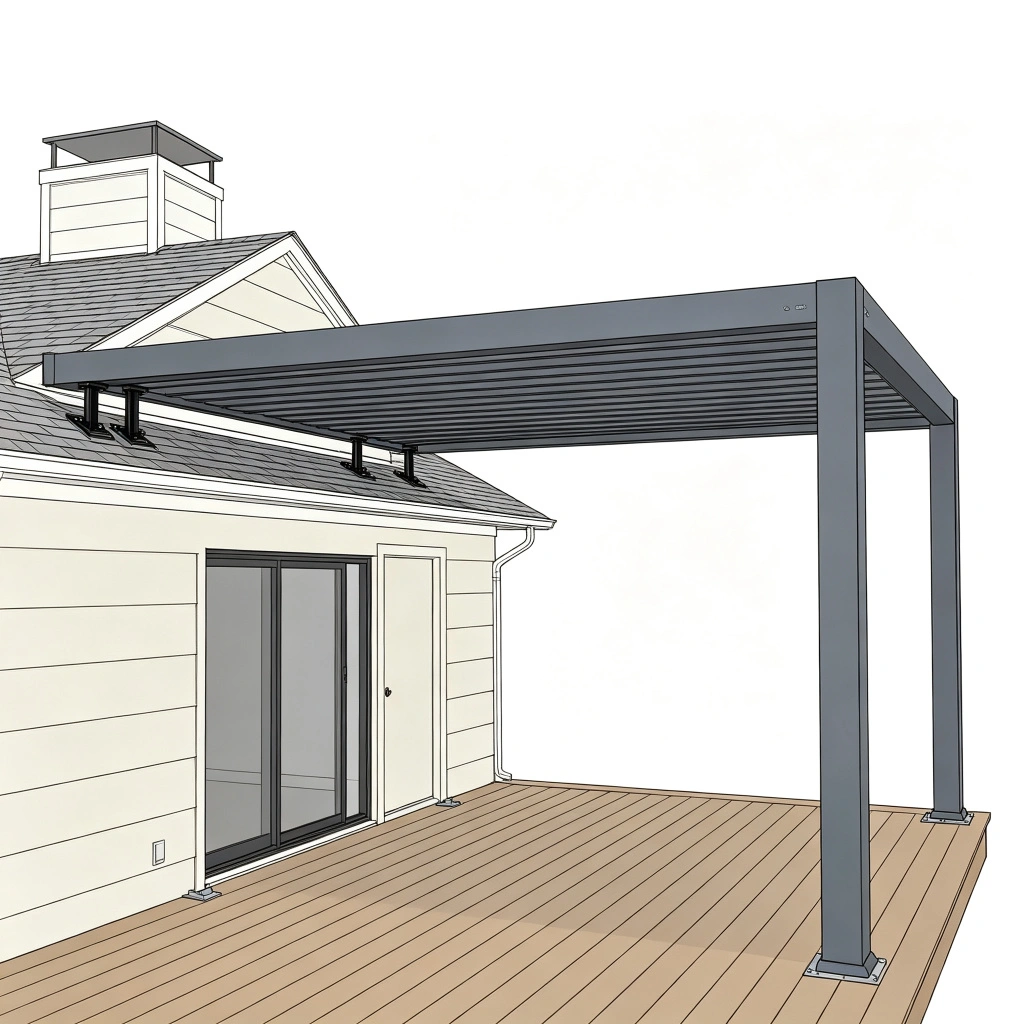
skylift roof riser brackets lifting a pergola above house roofline
  • Need more height. If your eave is too low for comfortable head clearance, or a second floor blocks the wall, you might need roof raiser brackets (also called skylift risers) — these mount onto the actual roof surface near the edge and lift the pergola back beam just above the roofline. The outer posts still stand on your patio or deck below. This is the most involved option; every bracket hole in your roof is a potential leak point, so waterproofing has to be perfect.

The one rule every installer follows: whatever method you use, the bolts have to go into something structural — wood studs, solid brick, or a reinforced beam. Never, ever bolt a pergola into just vinyl siding, stucco, or thin stone veneer. Those materials are the "skin" of your house; they have zero load-bearing strength. Bolt into them, and over time the weight of the structure will pull away from the wall — water seeps in, rots the framing, and you might not even know it's happening until you see a water stain on your living room ceiling.

At Sola, our wall-mounted installations always use the ledger board method on confirmed stud locations — we don't cut corners by attaching to siding or fascia unless absolutely necessary. It's the safest, longest-lasting, and easiest to flash correctly.

For a full step-by-step tutorial, see our guide on how to attach a pergola to your house.

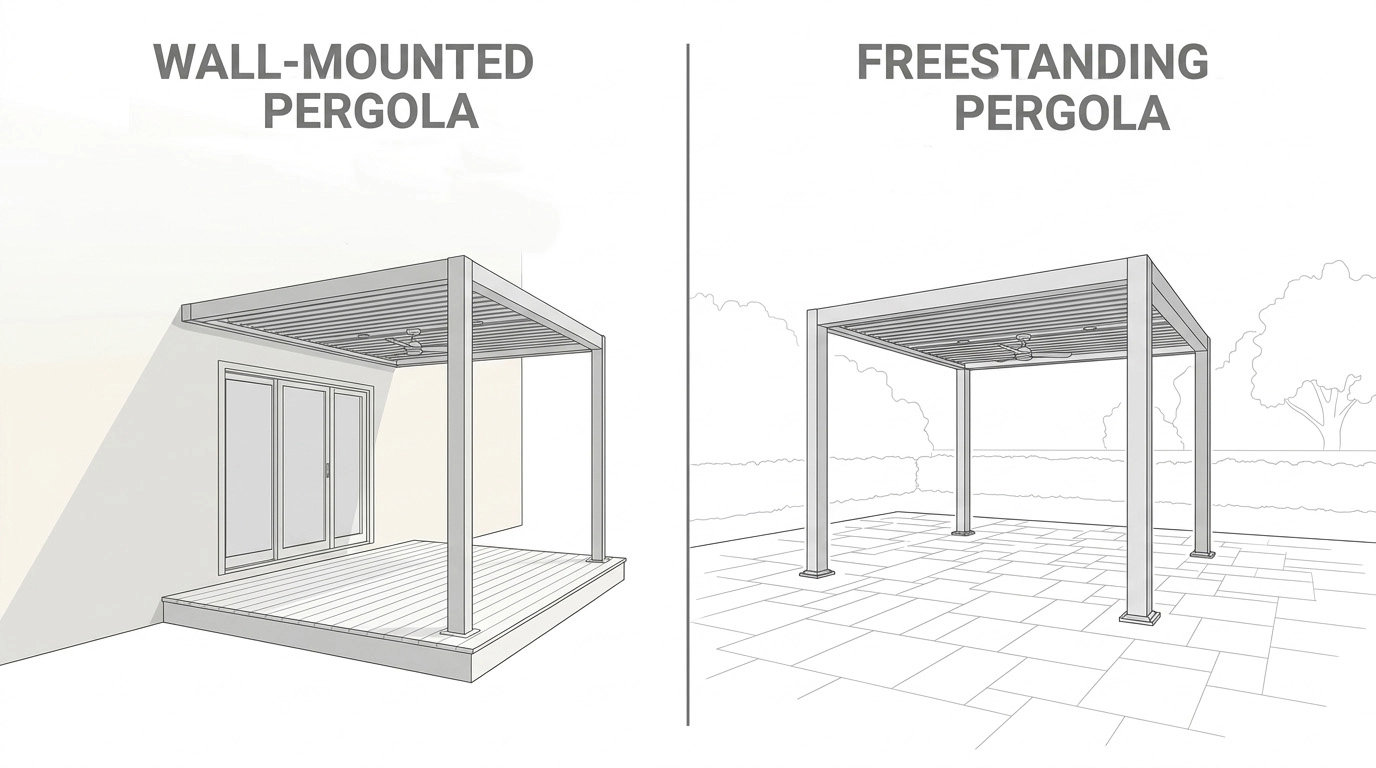
Wall-Mounted or Freestanding?

Comparison of wall mounted pergola vs freestanding pergola

Answer These 4 Questions:

1. Is your patio right outside your back door?

YES: Wall-mounted. You'll walk straight from kitchen to shaded dining with no gap, no step, no interruption.

NO (patio is out in the middle of the yard): Freestanding.

2. Do you have 4+ feet of clear wall — no windows, no doors, no vents?

YES: Wall-mounted works. The ledger needs a solid, uninterrupted section to bolt into.

NO (windows and doors cover most of the wall): Freestanding, or a smaller wall-mounted section that fits the clear space.

3. Is your yard so tight that two extra posts would block walking space?

YES: Wall-mounted. It only needs 2 outer posts and saves every inch of patio.

NO (you have a big yard): Either works — decide based on Q1 and Q2.

4. Do you want the option to move or expand later?

YES: Freestanding. You can dismantle it and reposition or add on.

NO (you're done deciding): Wall-mounted. It's permanent but built to last decades.

The cost reality: A wall-mounted pergola of the same size runs 10–20% less than a freestanding one — fewer posts, fewer concrete footings, less hardware. But that saving disappears if your wall isn't structurally suitable and you end up reinforcing it or switching to freestanding anyway.

For a deeper breakdown, read attached vs freestanding pergola: which is right for your backyard.

Critical Installation Factors

A wall-mounted pergola installed wrong is a slow-motion disaster. Here are the non-negotiables, ordered by how often they cause problems.

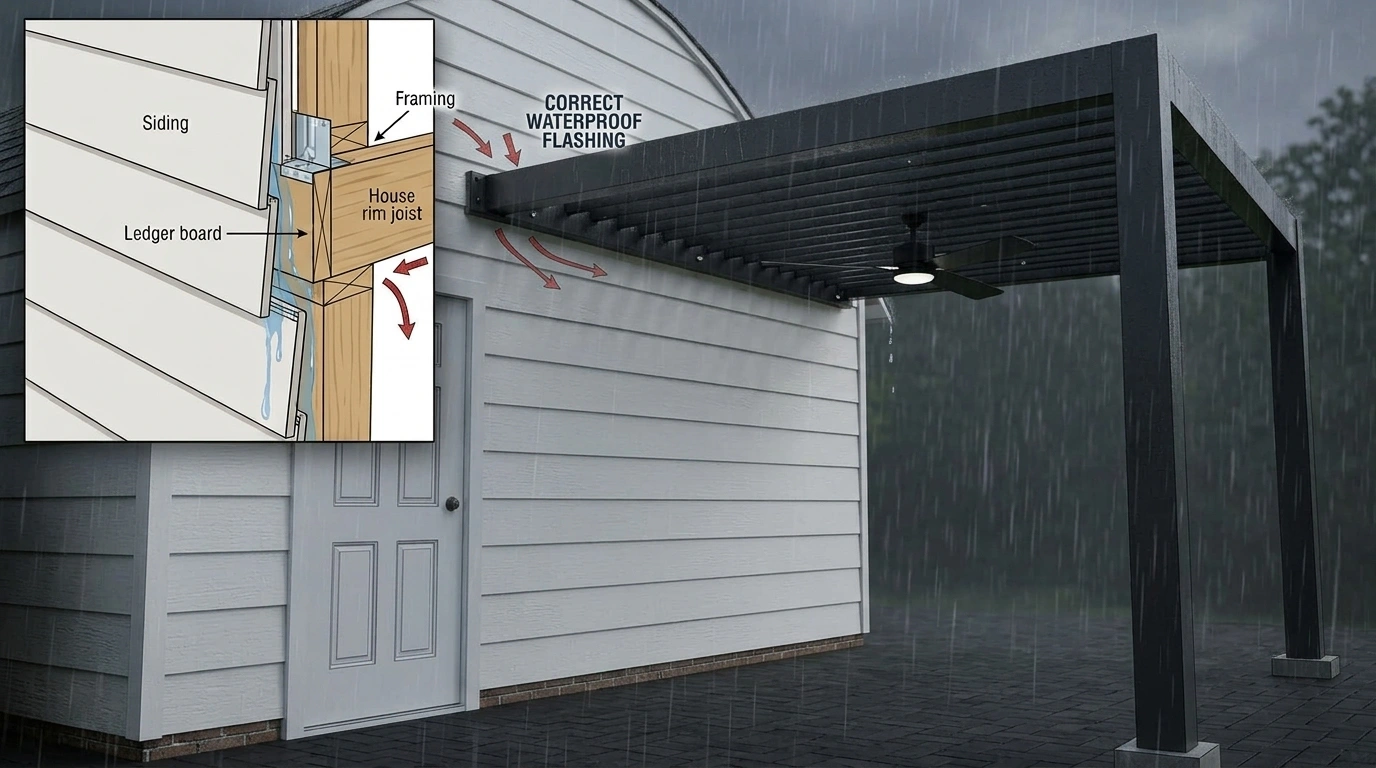
3.1 Waterproof Flashing — The #1 Failure Point

Improper flashing allows water behind the ledger, into the wall cavity, and against your home's framing — causing rot, mold, and structural damage that can cost thousands to repair. This is the single most important detail in any attached pergola.

Done correctly, flashing follows a specific protocol:

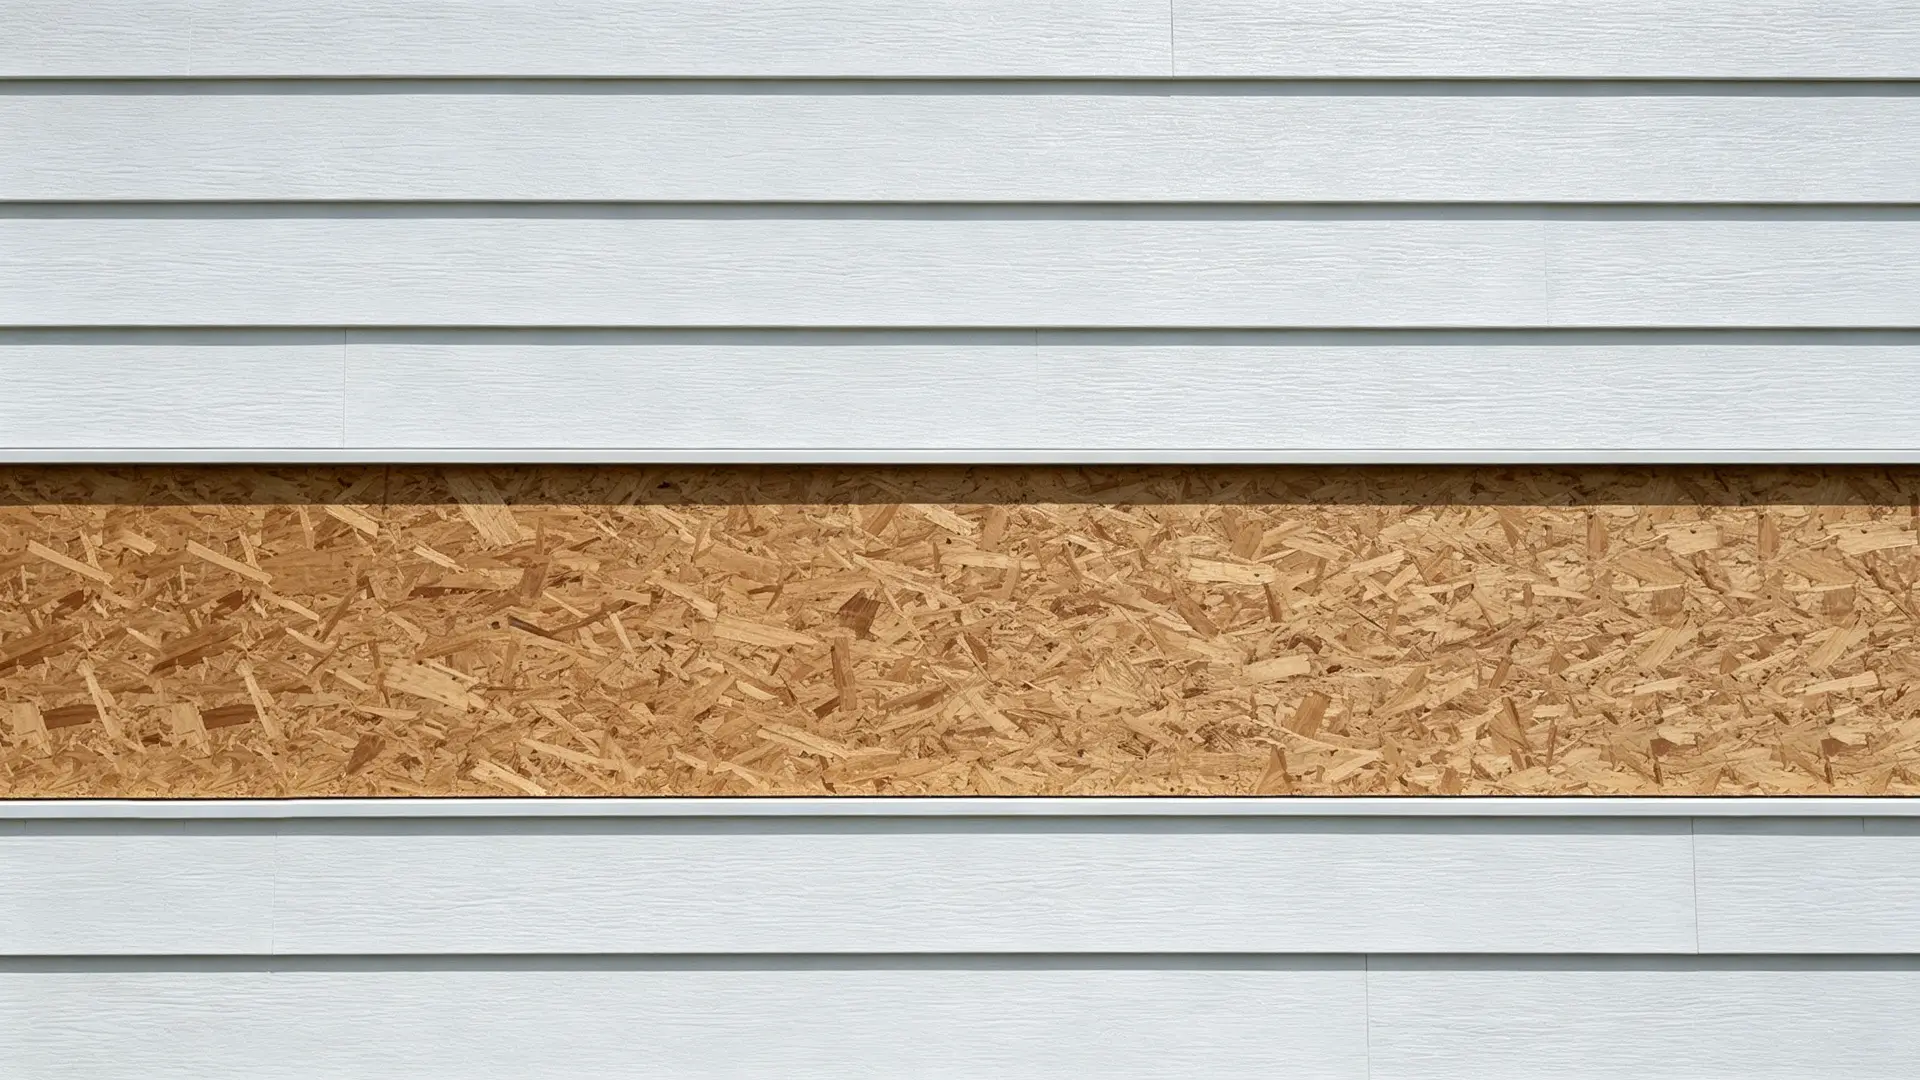
Cut away the siding at the ledger location to expose the sheathing.
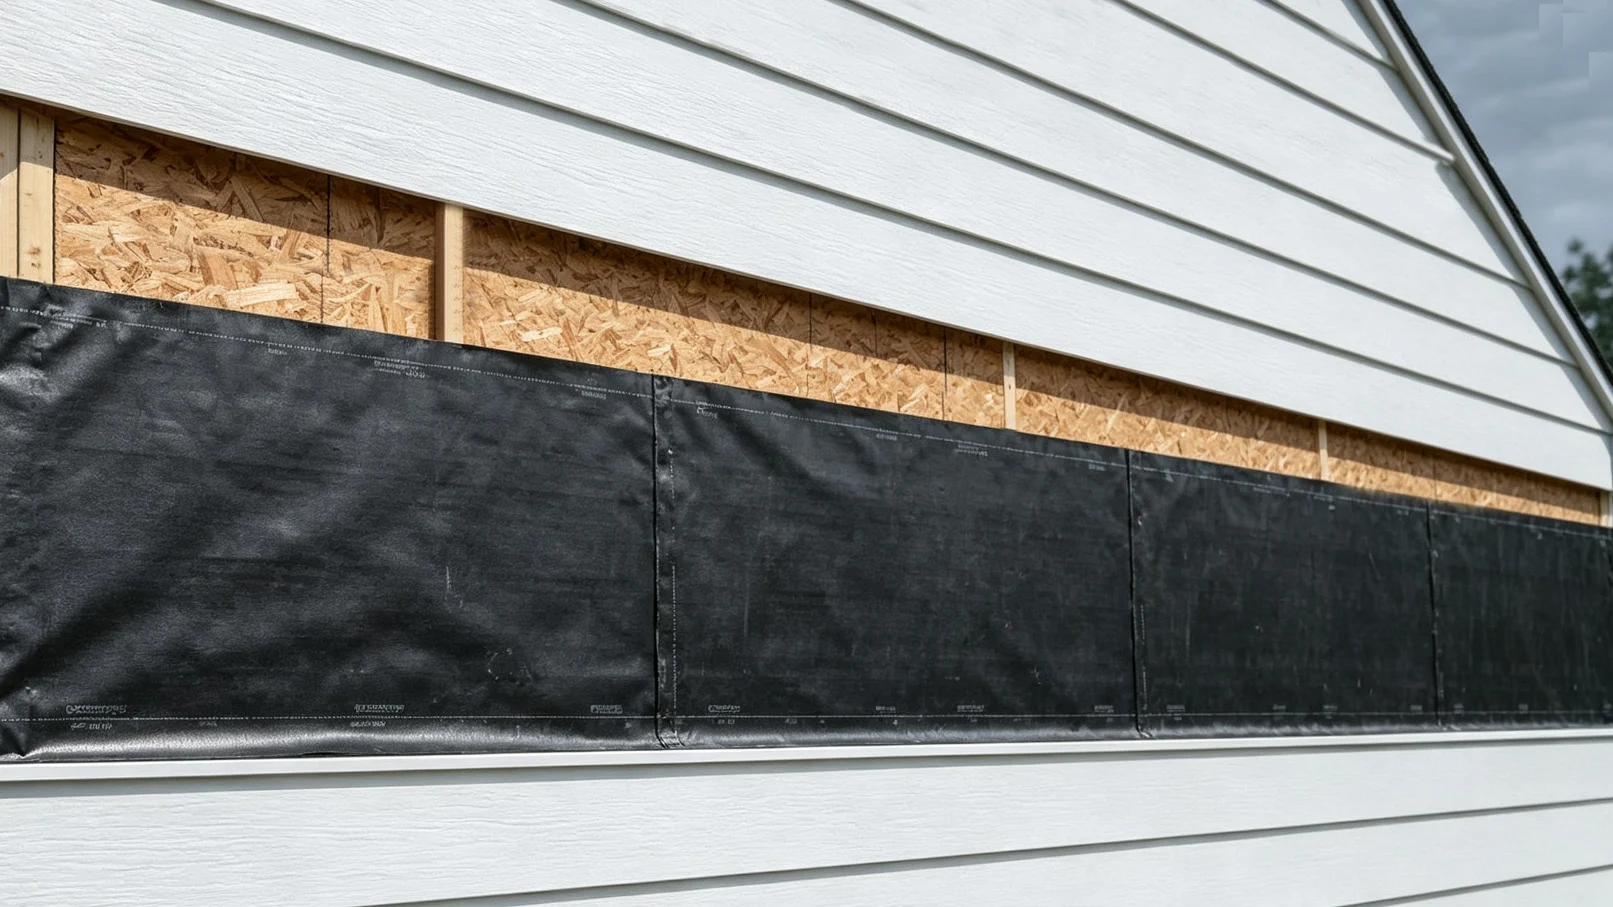
Apply self-adhesive waterproof membrane behind the ledger area.
  1. Cut away the siding at the ledger location to expose the sheathing.
  2. Apply self-adhesive waterproof membrane behind the ledger area.
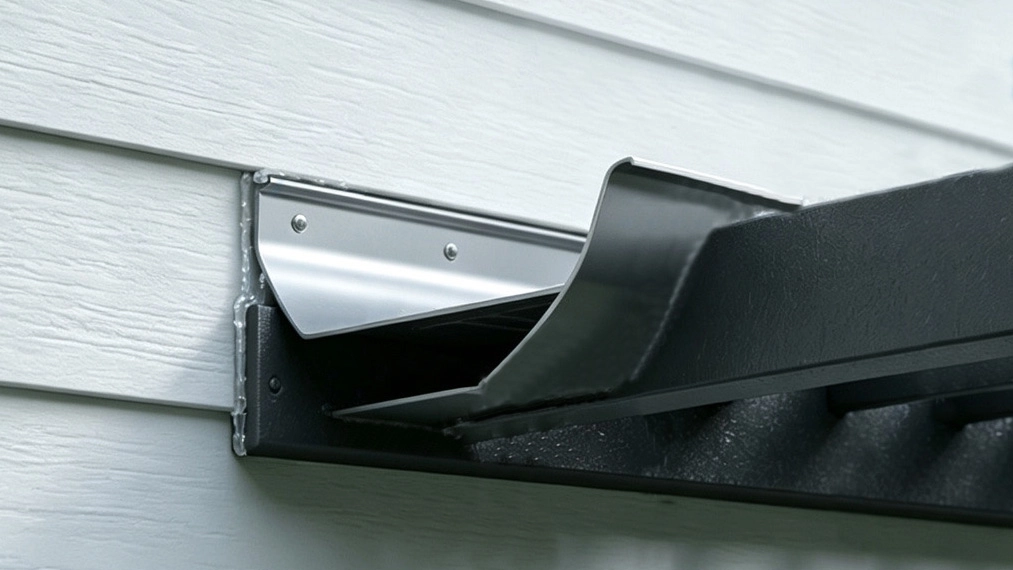
  3. Install metal Z-flashing above the ledger, tucked under the siding course above. This creates a shingle-like overlap: water hits the siding, runs down, passes over the flashing lip, and goes over the ledger.
  4. Seal the top and sides of the ledger with exterior caulk. The bottom must stay open so the drainage gap functions.

This is not DIY-level work. If you're not comfortable cutting into your siding and working with waterproof membranes, hire an experienced installer. The $500–$1,000 you save on DIY is nothing compared to the wall repair bill if flashing fails.

3.2 Roof Drainage & Rain Runoff

  • Slope the roof slightly (1–2 degrees) toward the outer edge, away from the house.
  • Add an integrated gutter on the outer beam. A 12x14 pergola roof catches roughly 70 gallons of water in a single 1-inch rainstorm. Without gutters, it dumps directly at your foundation wall.
  • Direct downspouts away from the house, at least 3–5 feet from the foundation.
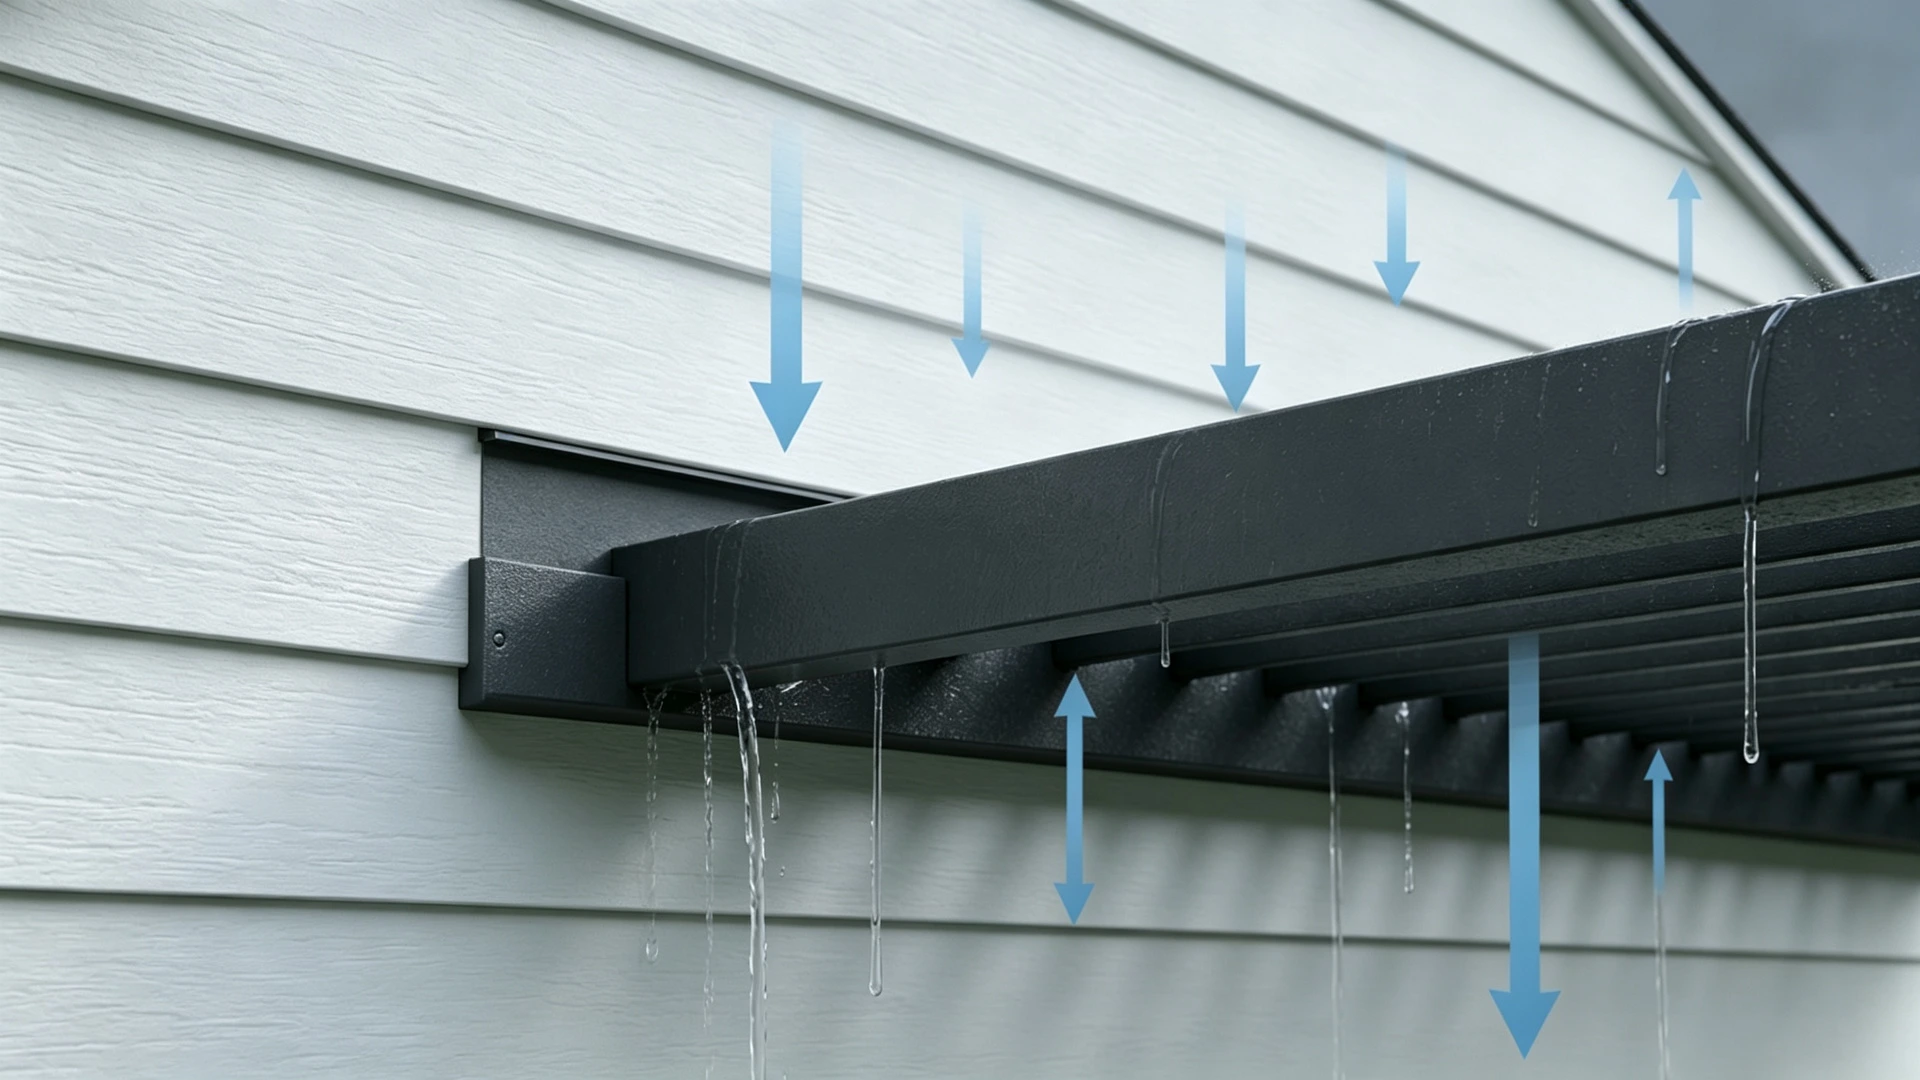
  • For louvered roofs when closed, water should channel into integrated gutters rather than dripping randomly along the beam edge.

Sola's solar louvered wall-mounted pergolas include an integrated gutter system as standard — precisely because wall-mounted installations make drainage more critical than freestanding ones.

What we see most often:

  • Most common (60% of jobs): Horizontal vinyl siding over wood studs. Easiest installation — cut away a section, locate the studs, anchor the ledger.
  • Second most common (25%): Stucco or masonry. Looks solid from outside, but you have to cut through the cosmetic layer to reach the structure behind. Adds a day of labor.
  • Rare but tricky (10%): Stone veneer over unknown framing. You genuinely can't tell what's behind it without cutting. Either remove a panel to inspect, or go freestanding.
  • The worst (5%): Old, brittle vinyl siding that cracks on contact. Budget for full siding replacement in your quote.

Our rule: If you can't clearly identify what's behind your wall, don't buy a wall-mounted pergola yet. Spend $100 for an installer to come take a look. That's cheaper than tearing out a failed installation later.

3.3 Is Your Wall Pergola-Ready? Do This 5-Minute Check

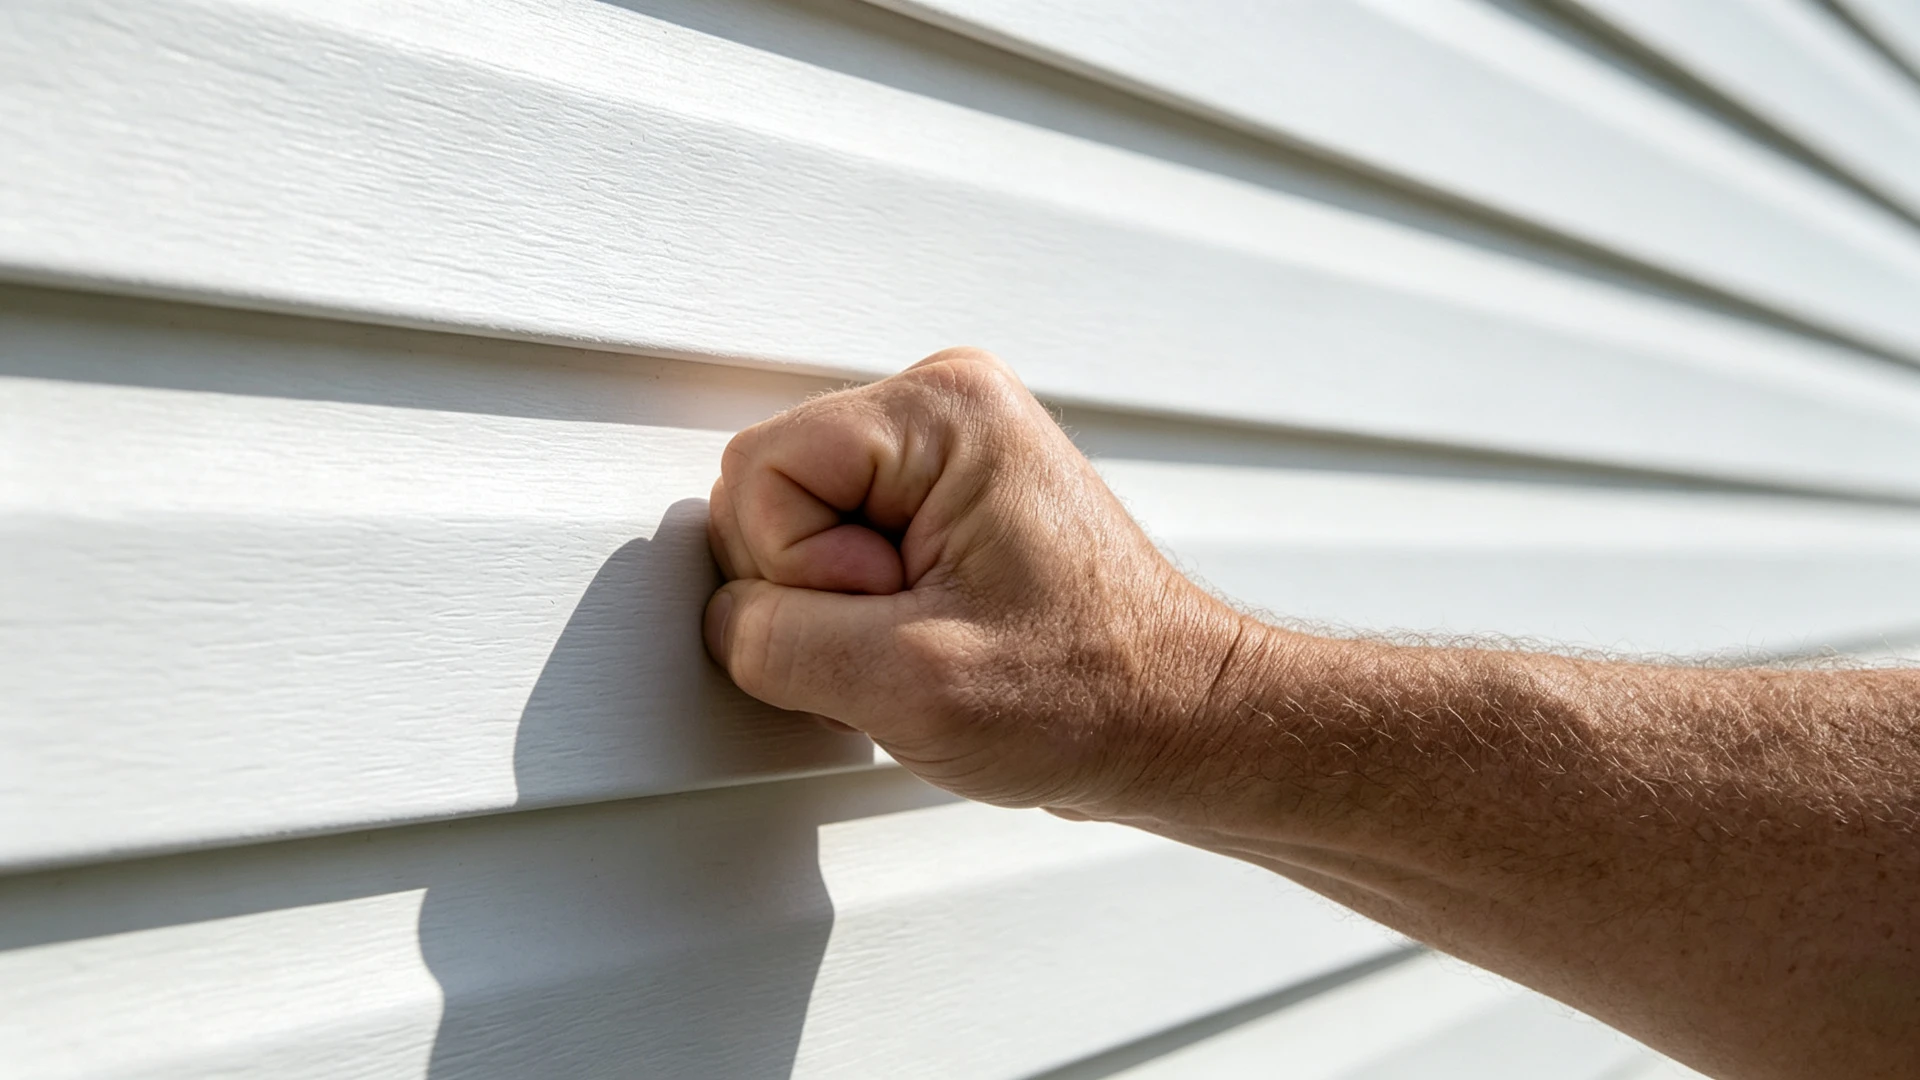
Step 1: Knock on the wall (literally).

  • Solid, dull thud? You're hitting wood studs or solid masonry — good news, this is doable.
  • Hollow, echoey? You've got thin siding or stone veneer over empty space — slow down, you need to investigate further.
Knocking house siding to test wall solidity for pergola mounting

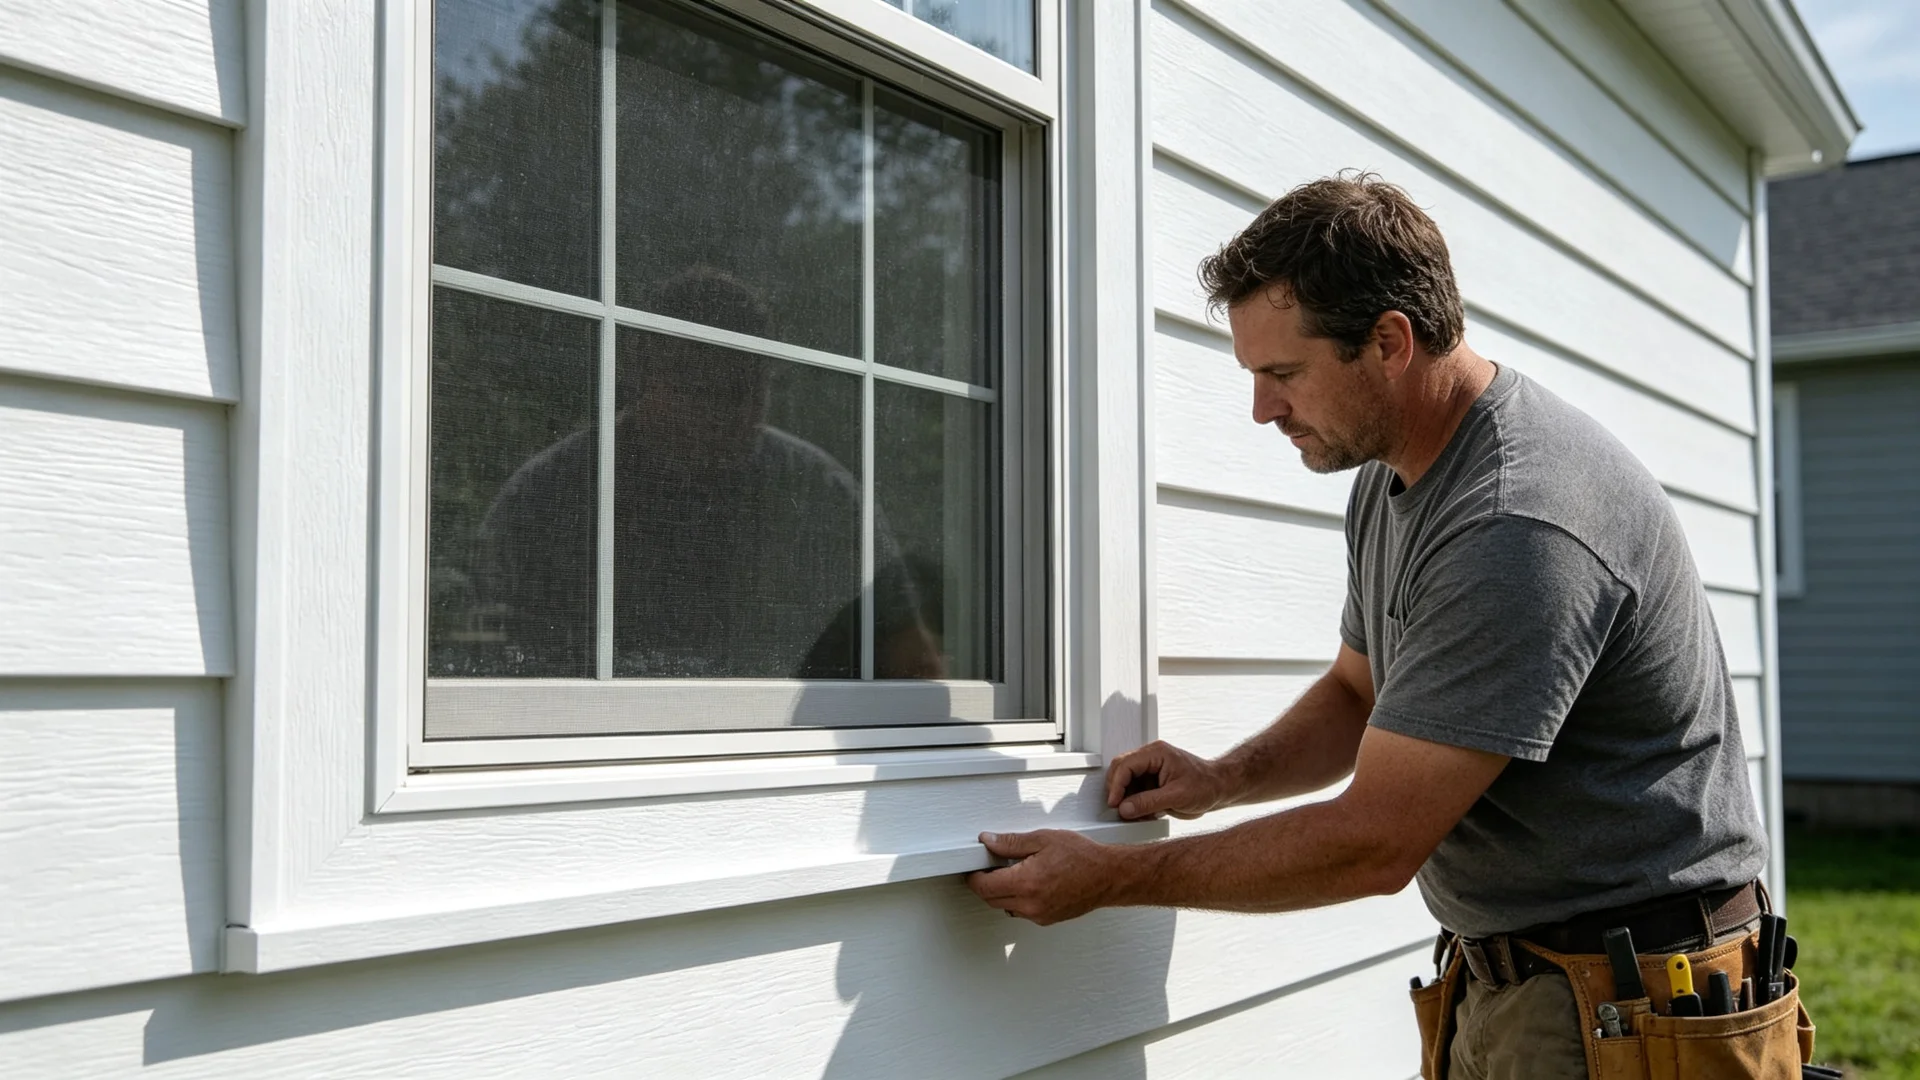
Step 2: Find a window or door frame. Look at the trim around your windows. Can you identify what material the wall is made of? Is it horizontal vinyl planks? Stucco? Brick? This tells you what you're dealing with.

worker checking exterior wall siding around house window for pergol

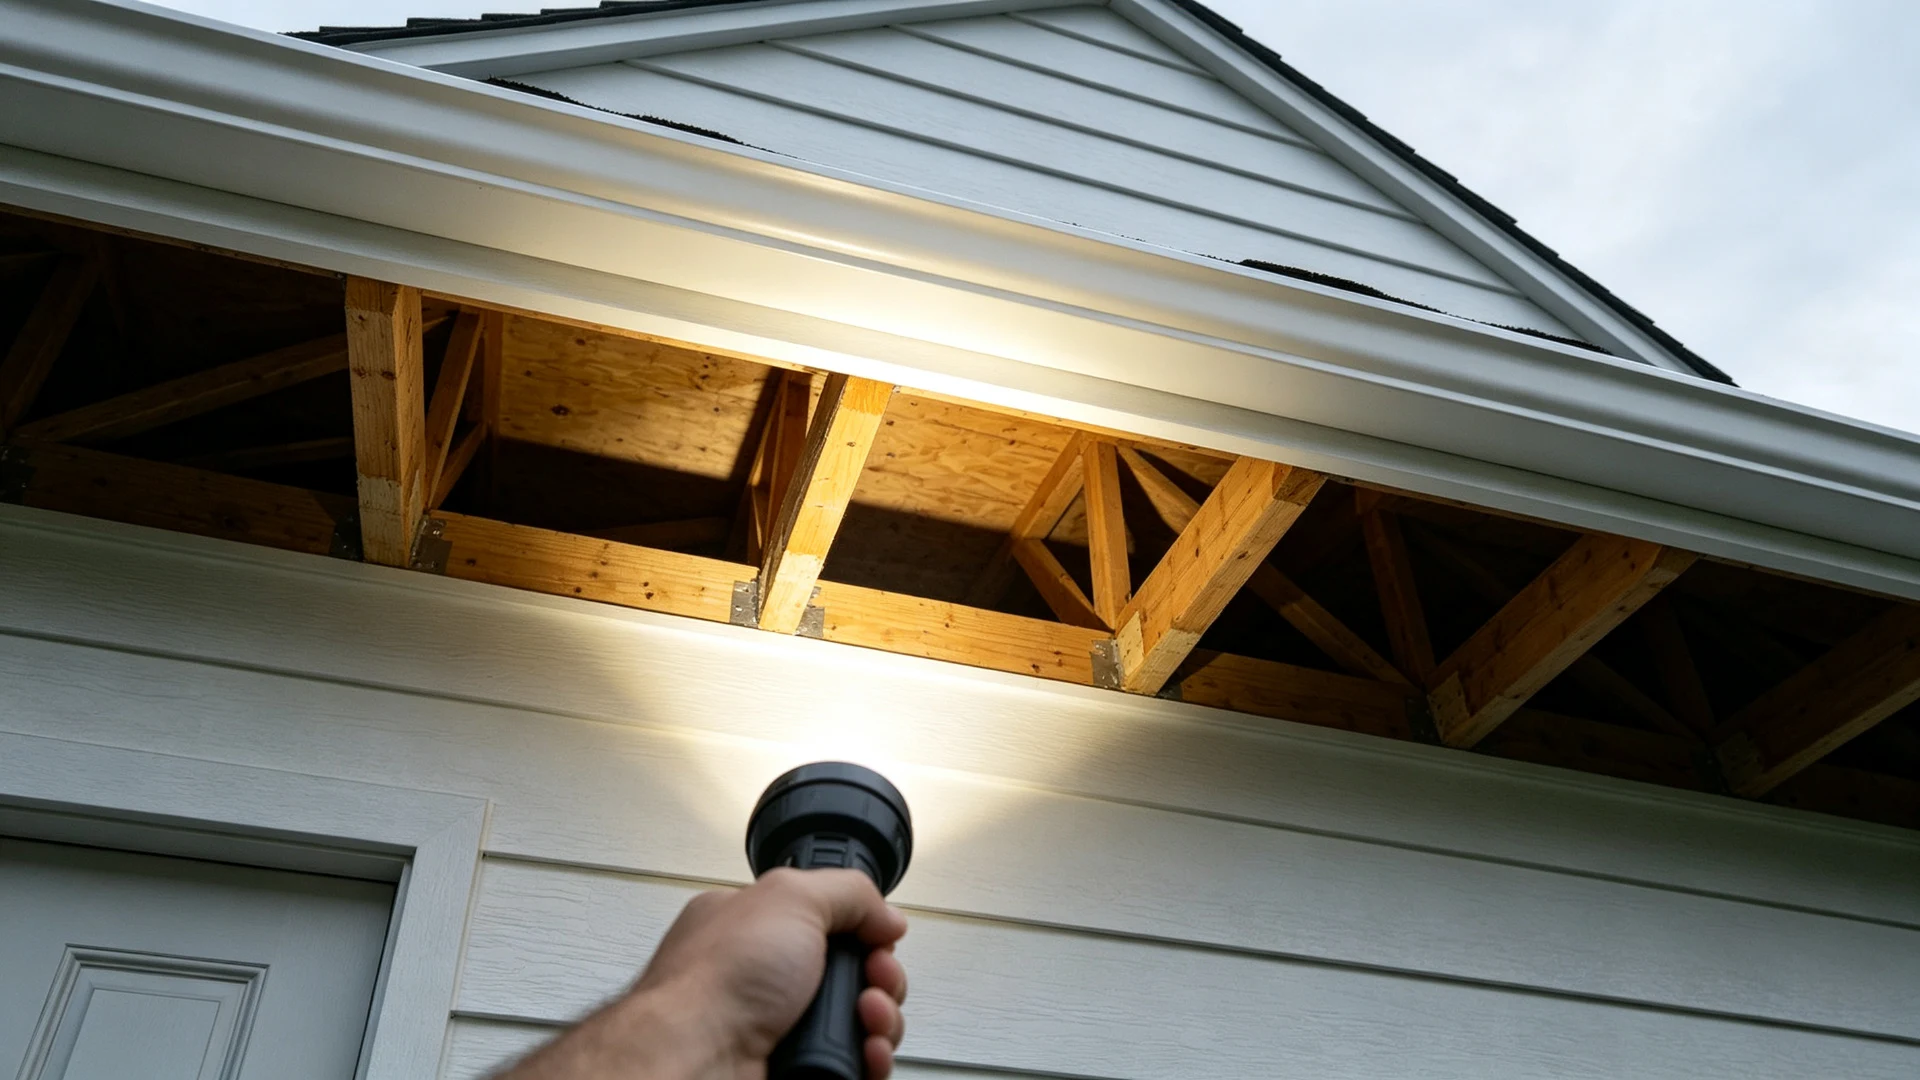
Step 3: Check your soffit. Peek under the eaves with a flashlight. You're looking for wooden stud ends or a rim joist — that's the structural anchor point every pergola installer needs. If you see solid wood framing here, you're in good shape.

Hand holding flashlight inspecting house soffit and wooden roof framing

Step 4: Ask yourself one question: "Have I ever had water issues or rot on this side of the house?" If the answer is yes — or if you can't see behind the siding at all — hire a professional to inspect before you buy.

homeowner inspecting exterior wall for water rot before pergola purchase

3.4 Post Footings & Frost Line

The two outer posts need concrete footings below the frost line — period. Skip this and the structure will shift, crack, or lean in its first winter.

Frost depth varies dramatically by region — it's not a one-size-fits-all number:

RegionTypical Frost DepthExample Cities
Deep South / Gulf Coast0–12 inchesMiami, Houston, Phoenix
Mid-South18–24 inchesNashville, Charlotte
Midwest / Mid-Atlantic36–42 inchesChicago, Columbus, Philadelphia
Northern Tier48–60+ inchesMinneapolis, Milwaukee, Boston

Footings must extend 6 inches below the local frost line to account for soil variability and record-cold winters. Always confirm your exact frost depth with your local building department — it's the single most important structural requirement for any in-ground post.

Concrete footing size:

  • 6x6 posts (most common for residential pergolas): minimum 12-inch diameter sonotube, 14–16-inch recommended
  • 4x4 posts (lighter structures): 10-inch diameter minimum
  • Pergola-specific: 12–18 inch diameter, sized to your span and local code

Post base anchors: Use galvanized steel post base brackets with a 1-inch standoff. This elevates the post above the concrete surface — preventing moisture wicking that leads to premature wood rot. Aluminum pergola posts bolt directly to these brackets.

3.5 Permits, HOA & Setbacks

Assume you need a permit unless you've confirmed otherwise. Most US municipalities require one for any structure attached to the home — and skipping it can result in fines plus forced removal.

  • Building permits: Attaching a pergola ledger to your home typically requires a permit regardless of size. In many jurisdictions, open (lattice-only) freestanding pergolas under 100–200 sq ft may be exempt — but wall-mounted units are almost always classified as a home alteration, not a freestanding accessory structure. You'll likely need to submit plans showing flashing details and ledger attachment specifications.
  • HOA approval is separate: If you live in an HOA community, you need architectural committee approval in addition to your city permit. HOAs can (and routinely do) impose stricter rules than local government — on materials, colors, height, placement, and whether a roof is permitted at all. Submit your plans for approval before purchasing.
  • Setbacks: Even attached structures may require minimum distances from property lines. Check your local zoning setback requirements.
  • Call 811 before digging: This is a free national service. At least 2 full business days before you dig post footings, call 811 or submit online. Utility companies will send locators to mark buried gas, electric, water, and fiber lines — so you don't accidentally hit one.

3.6 Common Mistakes to Avoid

  • Attaching only to siding — this is the #1 structural failure. The ledger must go into framing.
  • Skipping flashing — caulk is not waterproofing. Flashing is.
  • Sealing the bottom of the ledger — it needs to drain. Seal only top and sides.
  • No gutter plan — water dumps at your foundation. Plan drainage from day one.
  • Ignoring frost line — footings above frost line will heave and shift in winter.

Wall-Mounted Pergola Design Ideas

Once you've confirmed your wall can support an attached pergola, here are the design directions that work best.

4.1 Classic Wall-Mounted

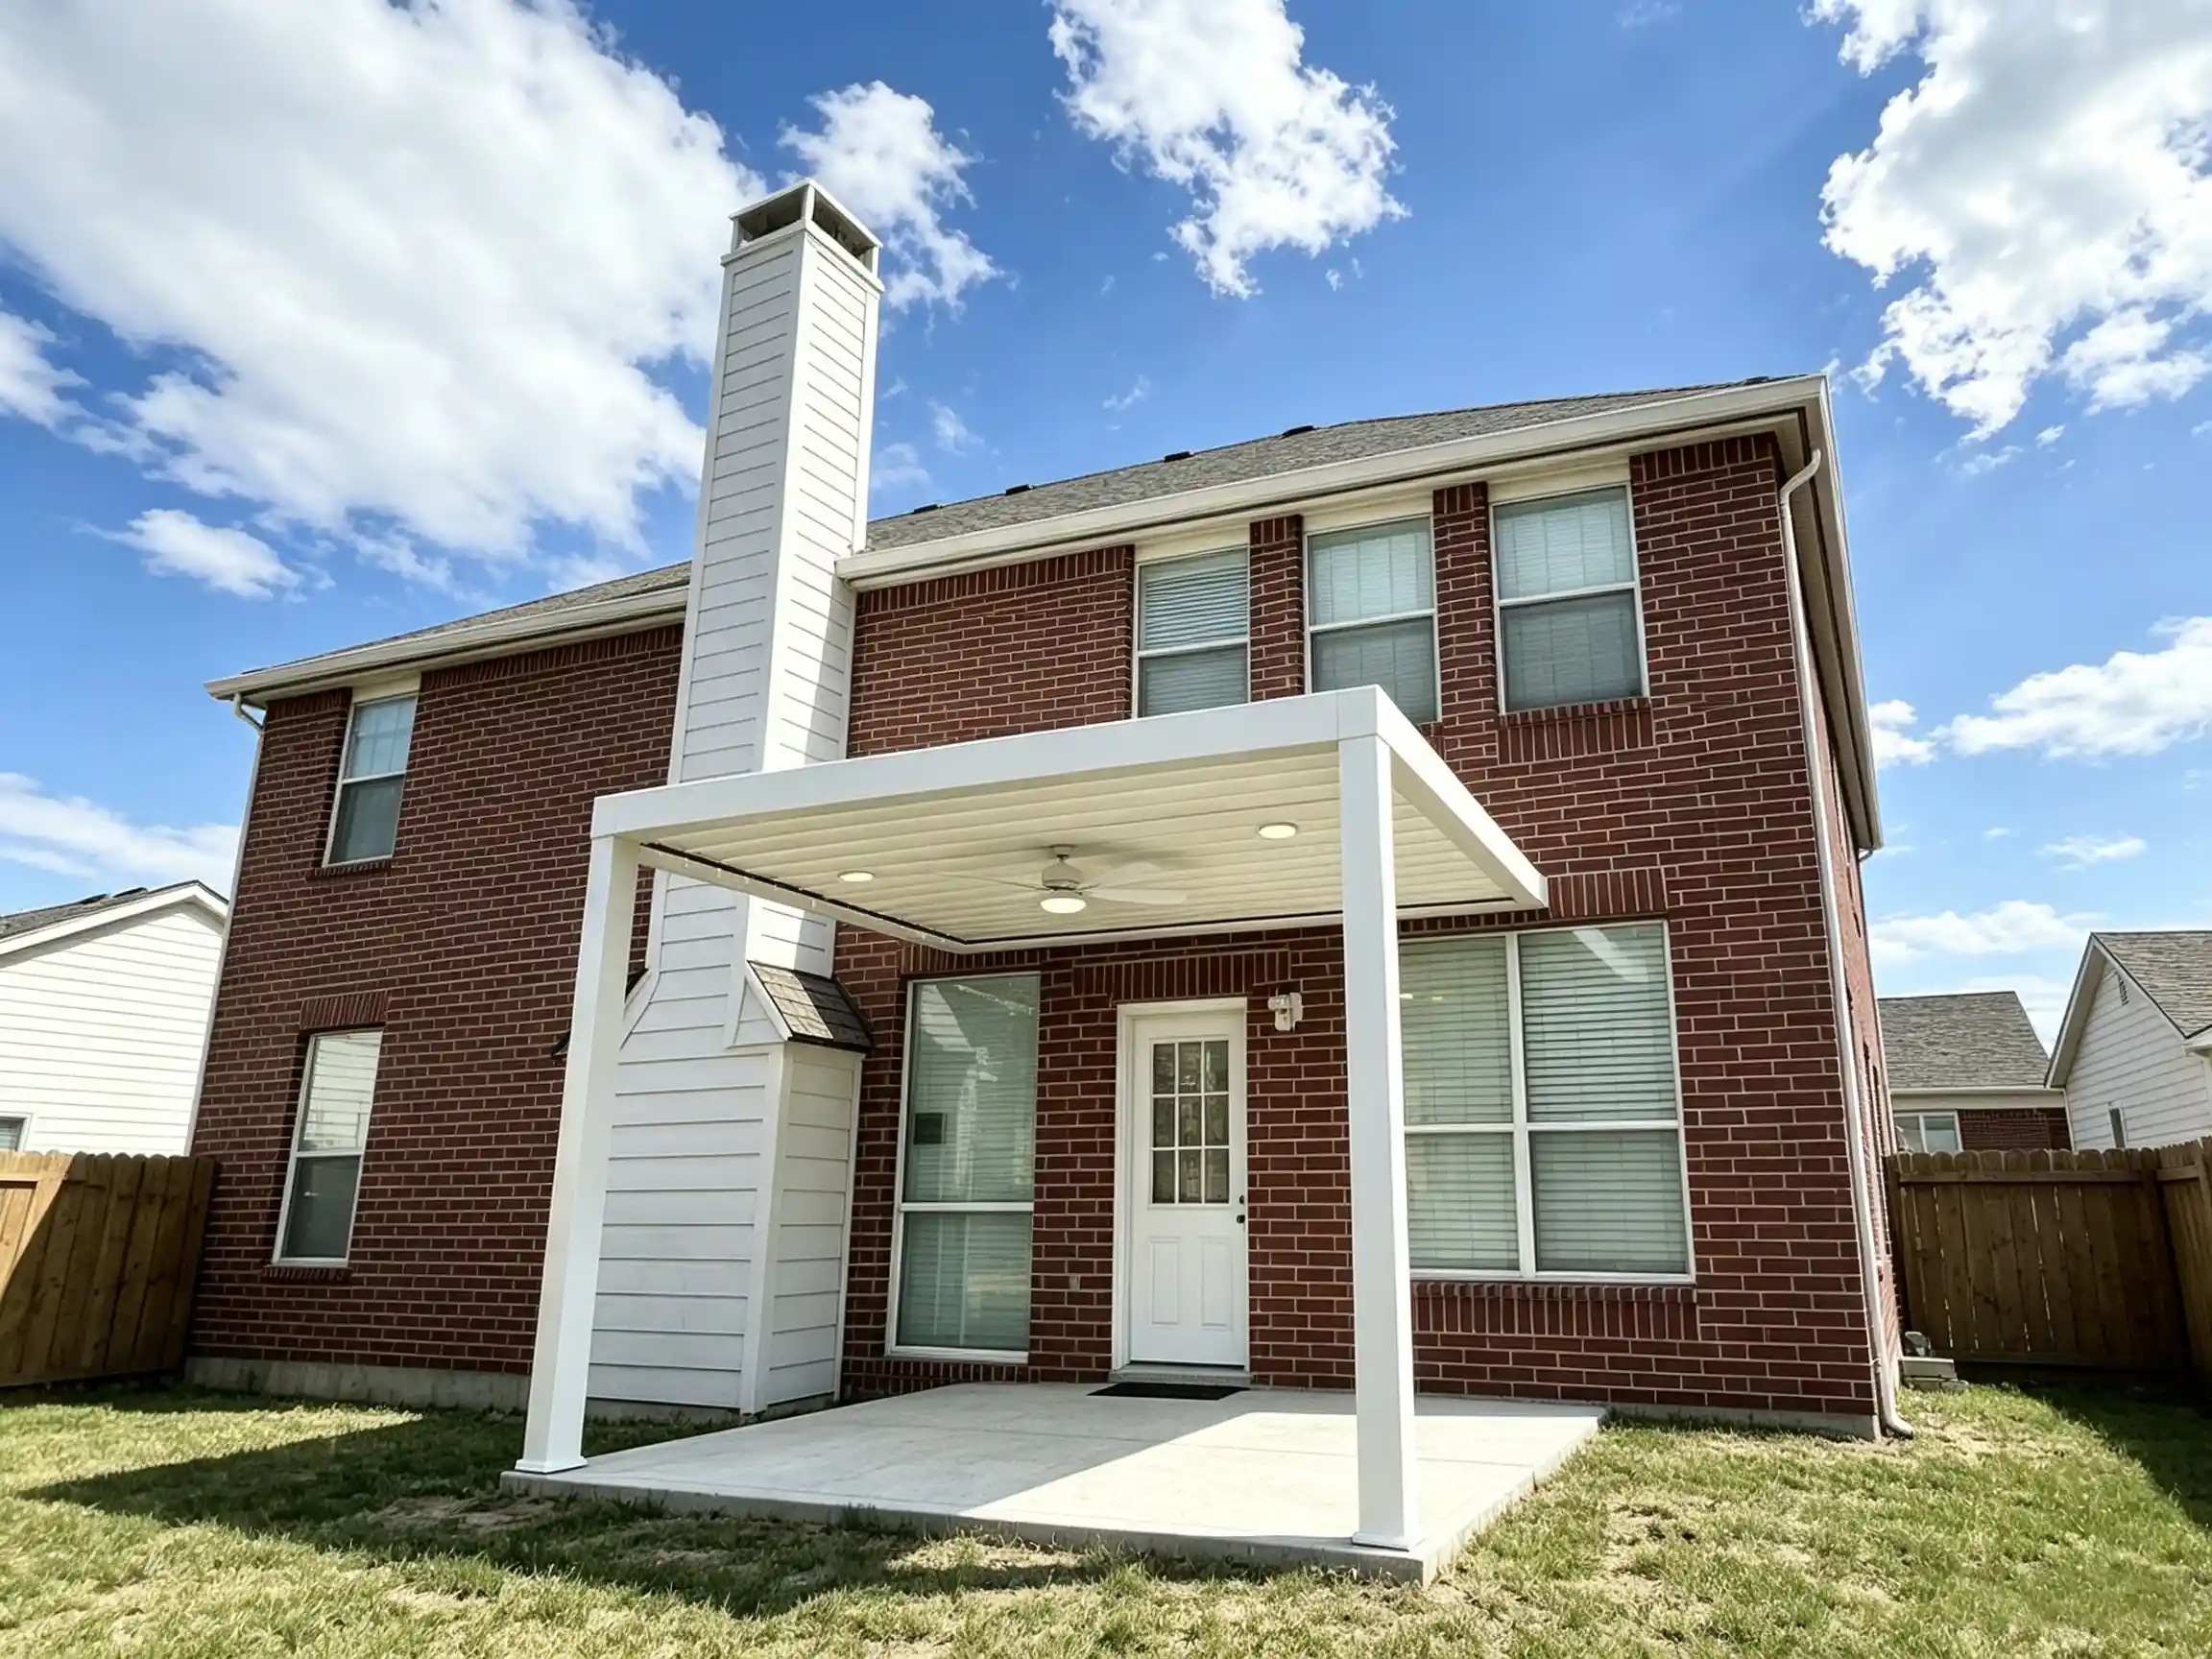
White louver‑roof pergola outside red‑brick home entrance

This is the most common wall-mounted configuration we install: a standard 2-post pergola anchored directly to the house wall, sized for a typical suburban backyard.

The Rodriguez family, Houston, TX: Their small suburban patio was too cramped for a traditional 4-post pergola — two inner posts would have blocked the walkway. Harsh Texas sun and sudden rain made the patio unusable for most of the year.

We installed a 10x14 white frame solar-powered pergola, anchored directly to their red brick exterior wall. The 2-post wall-attached design eliminated the inner posts that would have wasted space. The white frame and louvers match the home's trim and chimney, boosting curb appeal.

4.2 Large-Scale Wall-Mounted

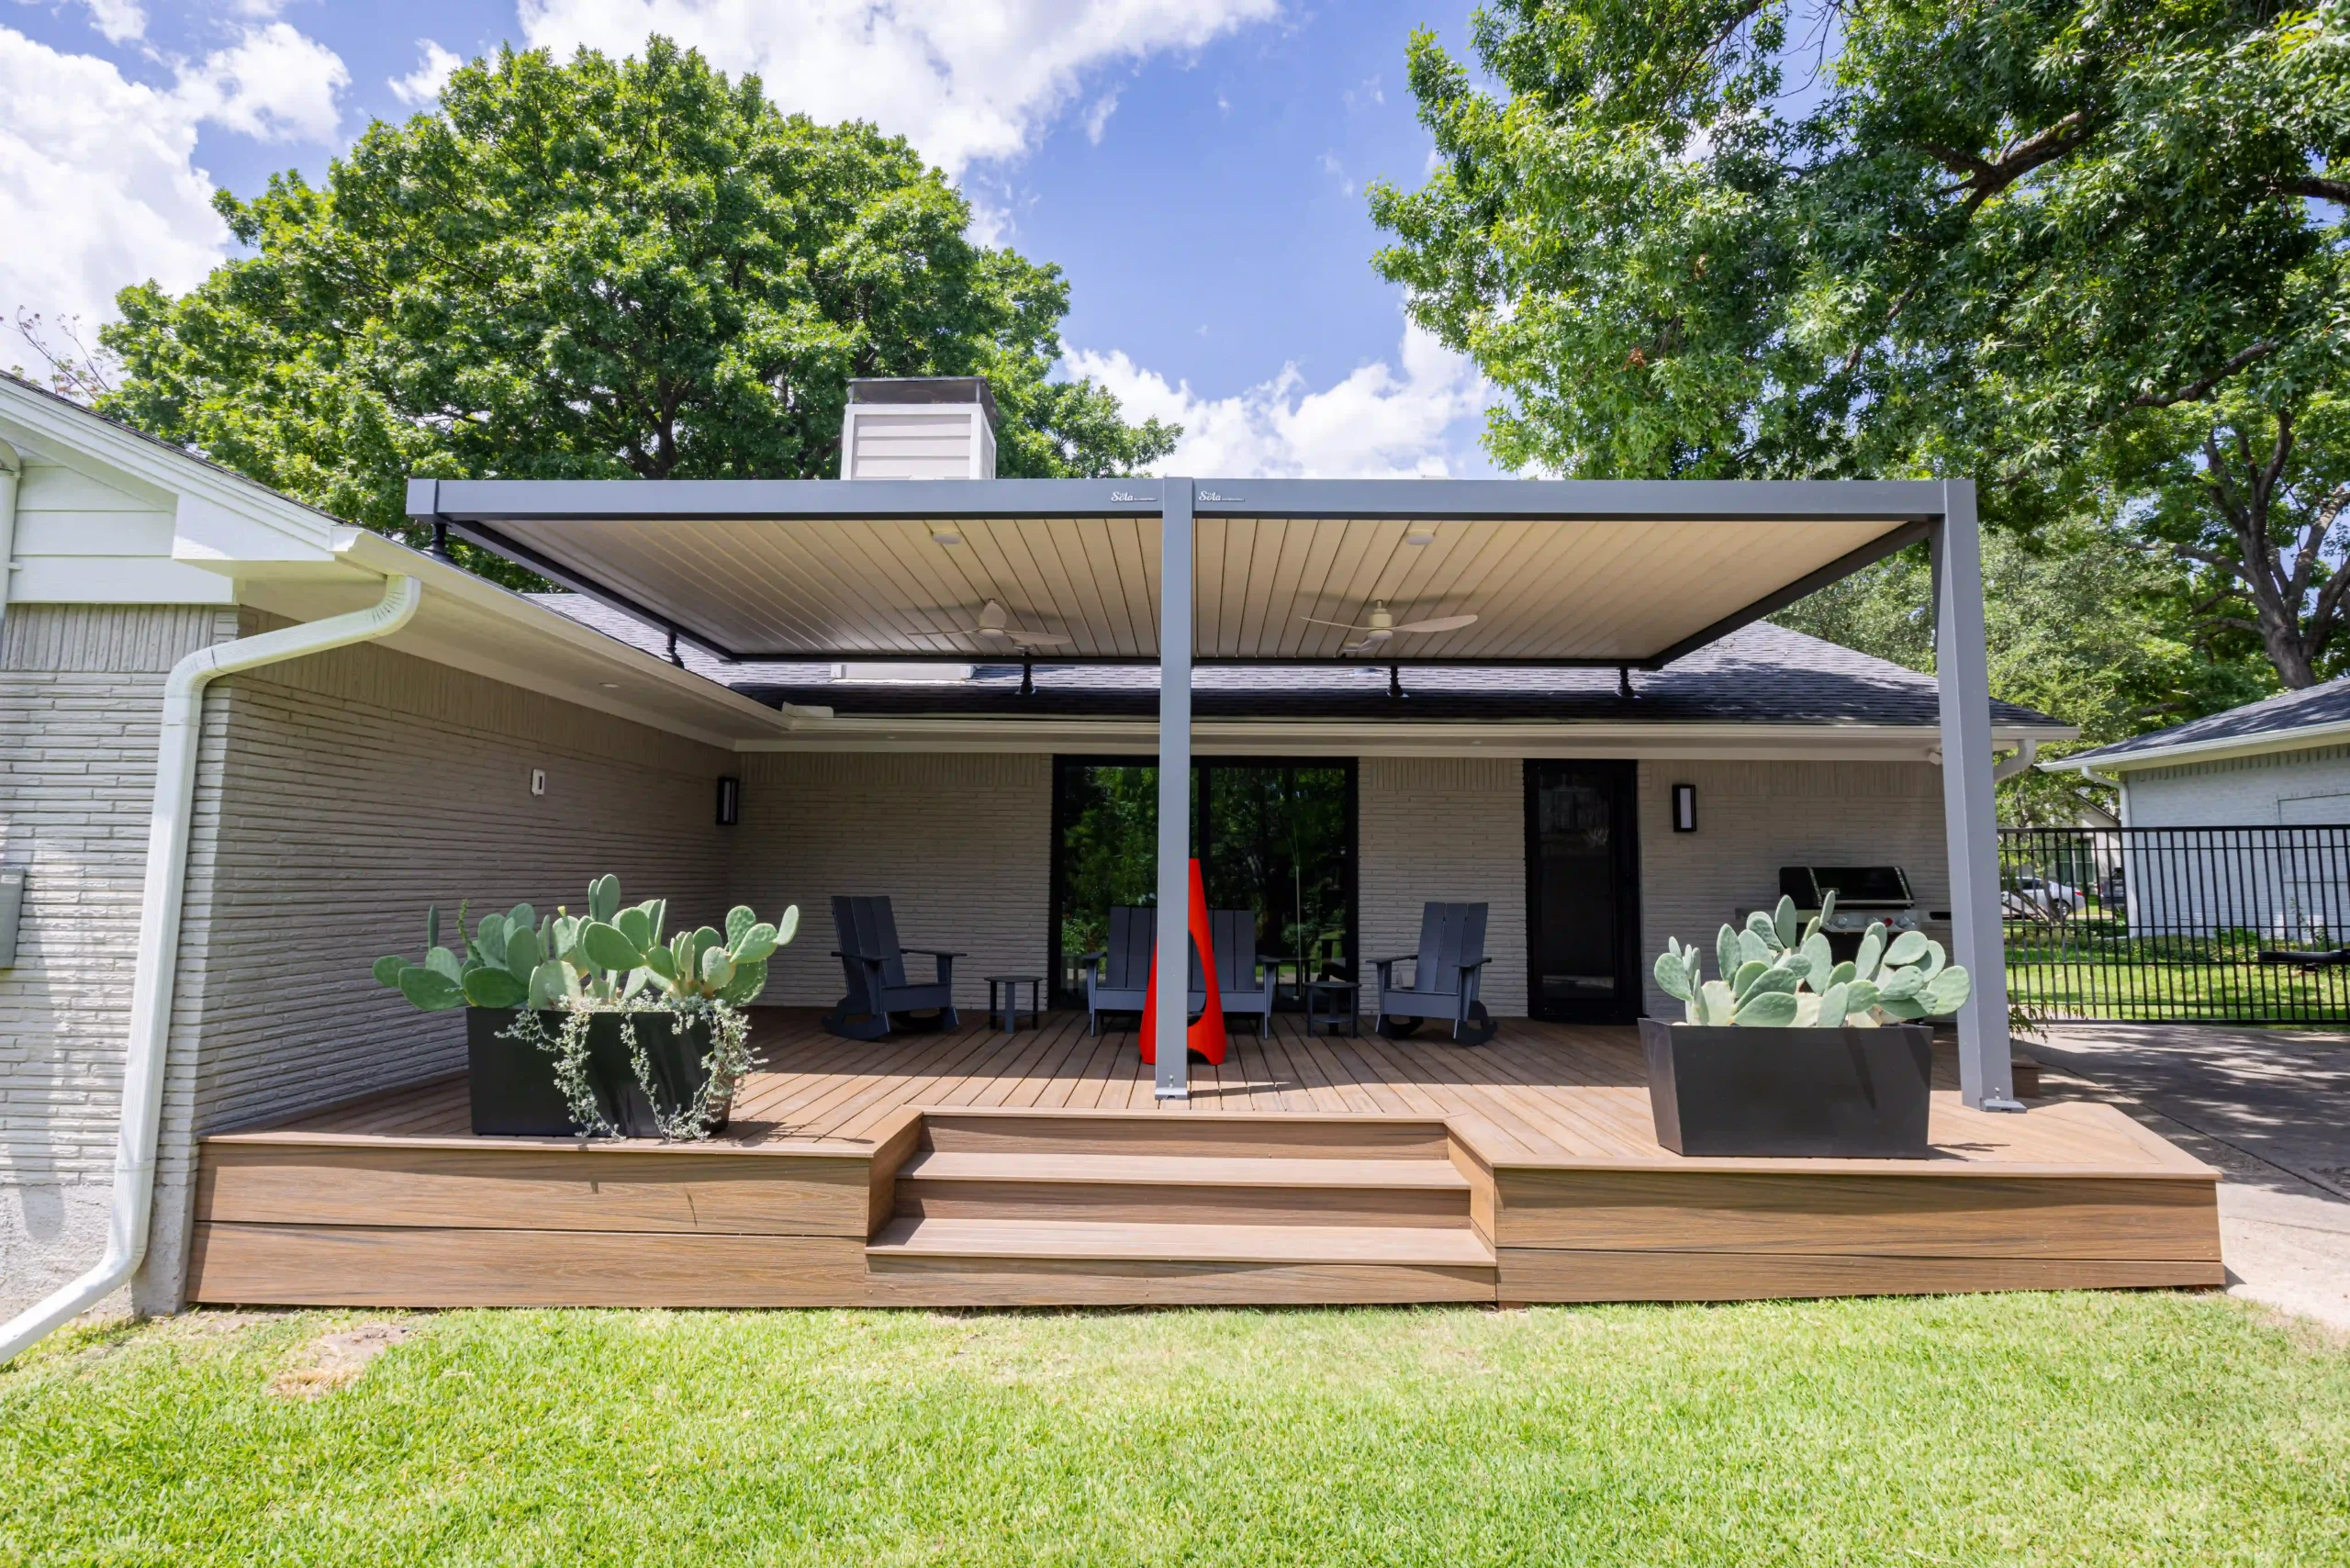
Full view of 13x26 roof-attached pergola with white louvers and gray posts

For homes where wall height or roofline constraints make a standard ledger mount impractical, roof riser brackets offer an alternative.

The Vant Slot family, Dallas, TX: Their backyard deck backed up to a single-story home with a low roofline. A standard wall-mounted unit wouldn't provide enough headroom. They wanted a seamless look that matched their roofline.

We installed a custom 13x26 gray frame / white louvers solar pergola, using a skylift roof riser system that mounts directly to the roof structure. The pergola elevates just above the roofline, creating a visually integrated look with the home's architecture.

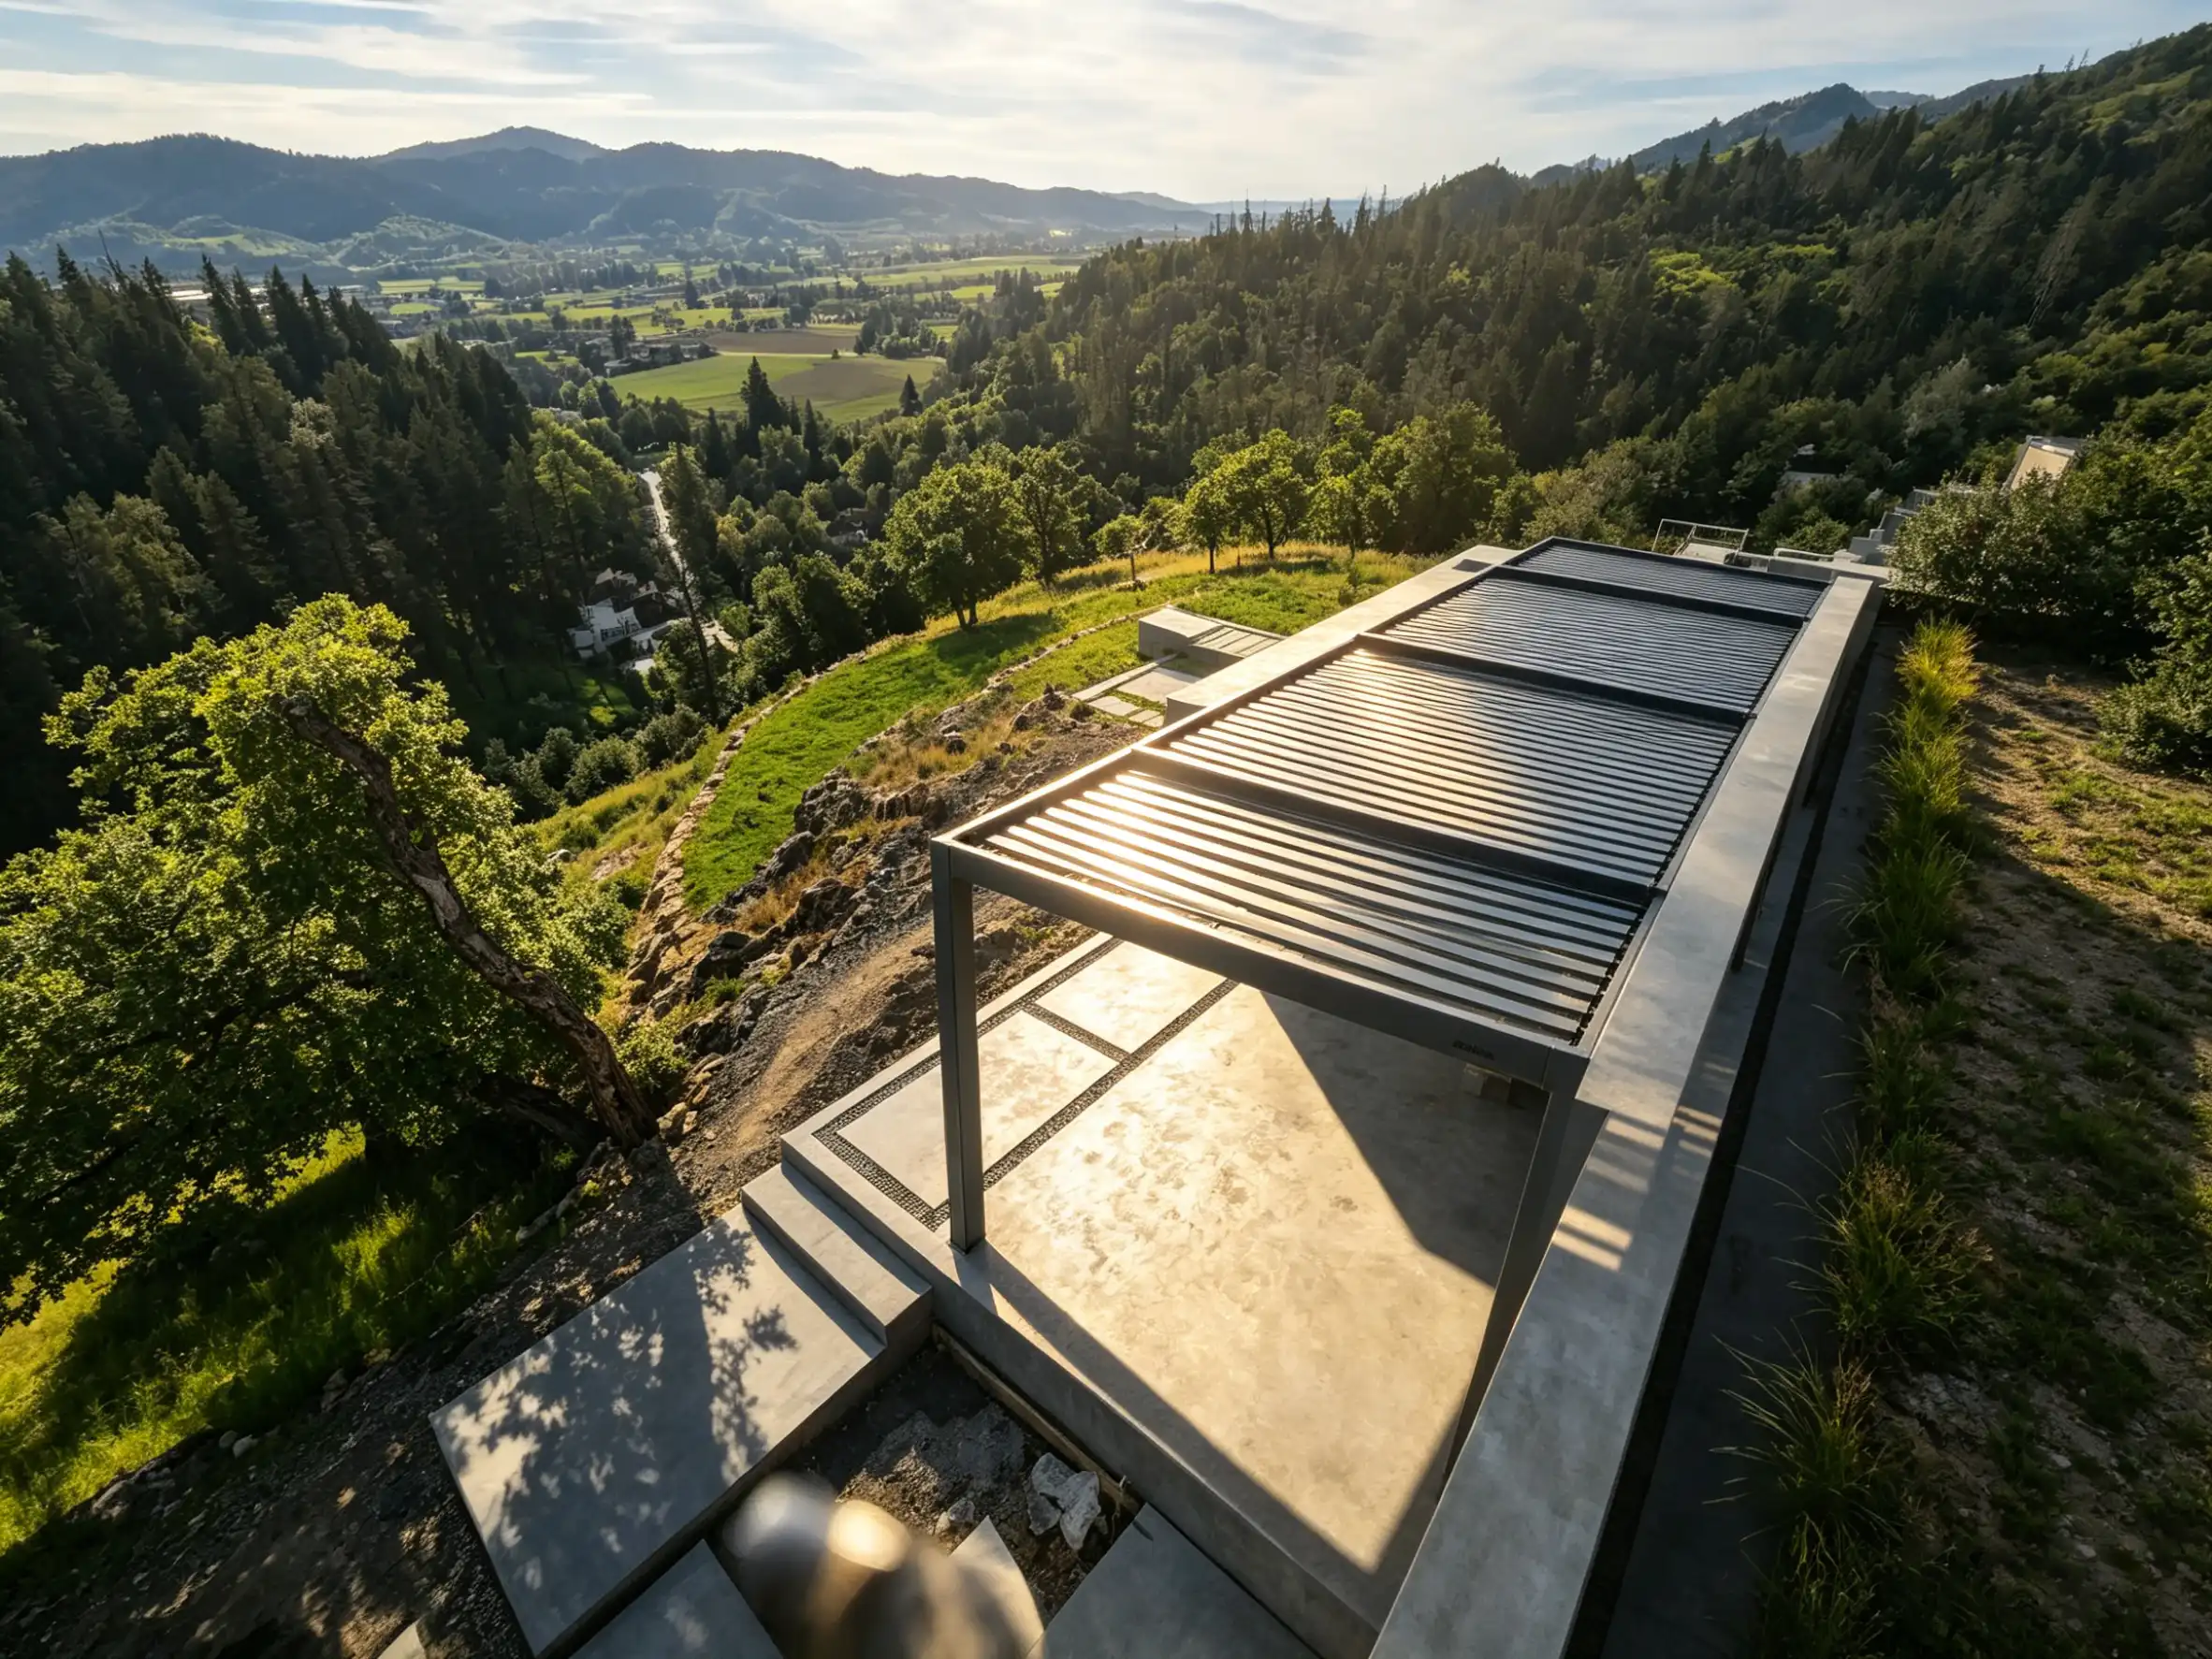
4.3 Luxury Hillside Installation: Three Connected 10x14 Units

For large patios or terraces, multiple units can be connected to create one expansive covered space — all anchored to a long retaining or house wall.

Luxury hillside villa, Houston, TX: A large concrete terrace on a sloped hillside was unused — too exposed, too hot, too open. The homeowner wanted a premium outdoor entertaining area without building a permanent structure.

We installed three connected 10x14 gray frame / gray louvers solar pergola units in a row, anchored to the long concrete retaining wall along the terrace. Together they form one expansive covered space for gatherings, BBQs, and outdoor entertaining.

4.4 Wall-Mounted Pergola With Roof 

If you want rain protection — not just shade — you need a covered roof, not an open slatted design. You have three options:

  • Solid aluminum roof: Full rain protection but fixed shade level. Ideal for a covered patio aesthetic.
  • Polycarbonate roof: Lets light through while keeping rain out. More affordable but can appear utilitarian.
  • Louvered roof (Sola's approach): Best of both worlds — open for ventilation, closed for rain. Motorized and solar-powered.

If rain protection is your priority, read wall mounted pergola with roof: best covered shade options.

4.5 Traditional Wood Attached Pergola

A traditional wood pergola delivers the classic look but demands the most maintenance. It's the cheapest upfront option and the most expensive over time.

  • Best for: Traditional, cottage, or craftsman-style homes
  • Tradeoff: Requires staining every 2–3 years; can warp or rot; offers no rain protection
  • Cost: Lowest upfront ($1,500–$3,000 DIY), highest long-term maintenance

For a detailed material comparison, see wood vs aluminum wall-mounted pergola: which lasts longer.

4.6 Modern Aluminum Fixed-Roof Pergola

An aluminum fixed-roof pergola provides a clean, modern look with virtually no maintenance — but it can't adjust for sun angle like a louvered roof can.

  • Best for: Modern, minimalist homes; low-maintenance preference
  • Tradeoff: Fixed shade angle; less ventilation than louvers
  • Cost: Mid-range ($4,000–$8,000 installed)

4.7 Wall-Mounted Pergola With Privacy Screens

If your neighbors are close or bugs cut your evenings short, add retractable screens or fixed privacy walls to the open sides. This transforms your pergola into a fully enclosed outdoor room.

  • Best for: Homes close to neighbors, windy yards, anyone wanting insect-free evenings
  • Options: Manual retractable screens (budget), motorized solar-powered screens (premium), fixed louvered privacy walls
  • Tip: If you want motorized screens, choosing a solar-integrated pergola from the start means screens run off the same power system.

How to Choose the Right Wall-Mounted Pergola

Use this checklist to narrow down your options:

  • Confirm your wall is suitable — solid stud or masonry backing, accessible for ledger installation
  • Check permits and HOA rules — before purchasing anything
  • Measure your space — width along the wall, depth from wall outward, eave height clearance
  • Decide on roof type — open slats, fixed solid, louvered
  • Choose material — wood, aluminum
  • Factor in power — solar-integrated systems eliminate electrical work entirely
  • Consider a pre-engineered kit — wall mounted pergola kits with pre-drilled hardware and included flashing simplify installation. See our wall mounted pergola kits buying guide.
  • Budget for professional installation — attached pergolas require proper flashing and structural attachment
  • Compare warranties — 10+ year frame, 5+ year on motors and electronics

For most homeowners, the sweet spot is an aluminum solar louvered wall-mounted pergola. It costs more upfront than a wood kit, but it delivers adjustable shade, rain protection, built-in amenities, and decades of maintenance-free use — plus zero ongoing electrical cost.

FAQs About Wall-Mounted Pergolas

1. Do I need a permit for a wall-mounted pergola?

In most US municipalities, yes — especially if the structure exceeds 100–200 sq ft or is attached to your home. Always check with your local building department.

2. Can a wall-mounted pergola attach to vinyl siding?

Yes, but you must remove the siding in the ledger area, install proper flashing, and bolt through sheathing into studs. Never attach a ledger directly over vinyl siding — water will get trapped behind it and cause rot.

3. How much does a wall-mounted pergola cost?

Basic wood kits start at $1,500–$3,000 (DIY). Mid-range aluminum fixed-roof models run $4,000–$8,000 installed. Premium solar louvered wall-mounted pergolas typically range from $8,000–$20,000+ installed, depending on size, options, and location.

4. Can I add solar panels to an existing wall-mounted pergola?

It depends on the structure. A wood or basic aluminum pergola may lack the roof surface or structural capacity. A purpose-built solar louvered pergola is the cleaner solution — panels are integrated from the outset.

5. How does a solar louvered wall-mounted pergola handle snow load?

Sola's aluminum louvered pergolas are engineered for a 30 PSF snow load rating. Louvers can be opened to let snow fall through, or closed at an angle to allow it to slide off the roof surface. In areas with heavier snowfall, confirm your local snow load requirements match this rating.

6. How far can a wall-mounted pergola span from the house?

Most residential units extend 8–16 feet from the wall. Beyond 16 feet, you'll likely need a third intermediate post or heavier beams.

7. What size wall-mounted pergola do I need?

Most homeowners start with 10x10 or 10x12 feet. Measure your patio width (along the wall) and depth (out from the house). Leave at least 3 feet of walking space beyond the pergola edge. If you're seating 4–6 people for dining, go 12x14 or larger.

8. Can I install a wall-mounted pergola myself?

The outer posts and frame assembly are DIY-friendly. The ledger board attachment and waterproof flashing are not — unless you have experience with siding, framing, and flashing. Budget for a professional installer for the wall connection; DIY the rest if you want to save money.

9. How long does it take to install a wall-mounted pergola?

A professional crew installs most wall-mounted pergolas in 1–2 days. DIY kits typically take 2–3 weekends, depending on your experience level. Add extra time if you need to pour concrete footings and wait for them to cure (usually 3–7 days).

Conclusion

A wall-mounted pergola is one of the most efficient ways to add shaded, usable outdoor space — it saves yard space, costs less than a freestanding model, and creates a seamless transition from indoors to out. But it demands proper installation: structural wall attachment, correct flashing, and a drainage plan are non-negotiable.

The biggest decision you'll make is roof type. A basic wood open-rafter pergola is the cheapest entry point but requires ongoing maintenance and offers no rain protection. A solar louvered wall-mounted pergola is the premium choice — adjustable shade, rain protection, built-in lights and fans, zero electrical work, and decades of maintenance-free aluminum construction.

Back to top of page
crossmenu