Sola-Site-Logo
Search

Home » Blog » DIY vs. Professional Enclosed Pergola Installation: Pros, Cons, and Cost

DIY vs. Professional Enclosed Pergola Installation: Pros, Cons, and Cost

DIY vs. Professional Enclosed Pergola Installation

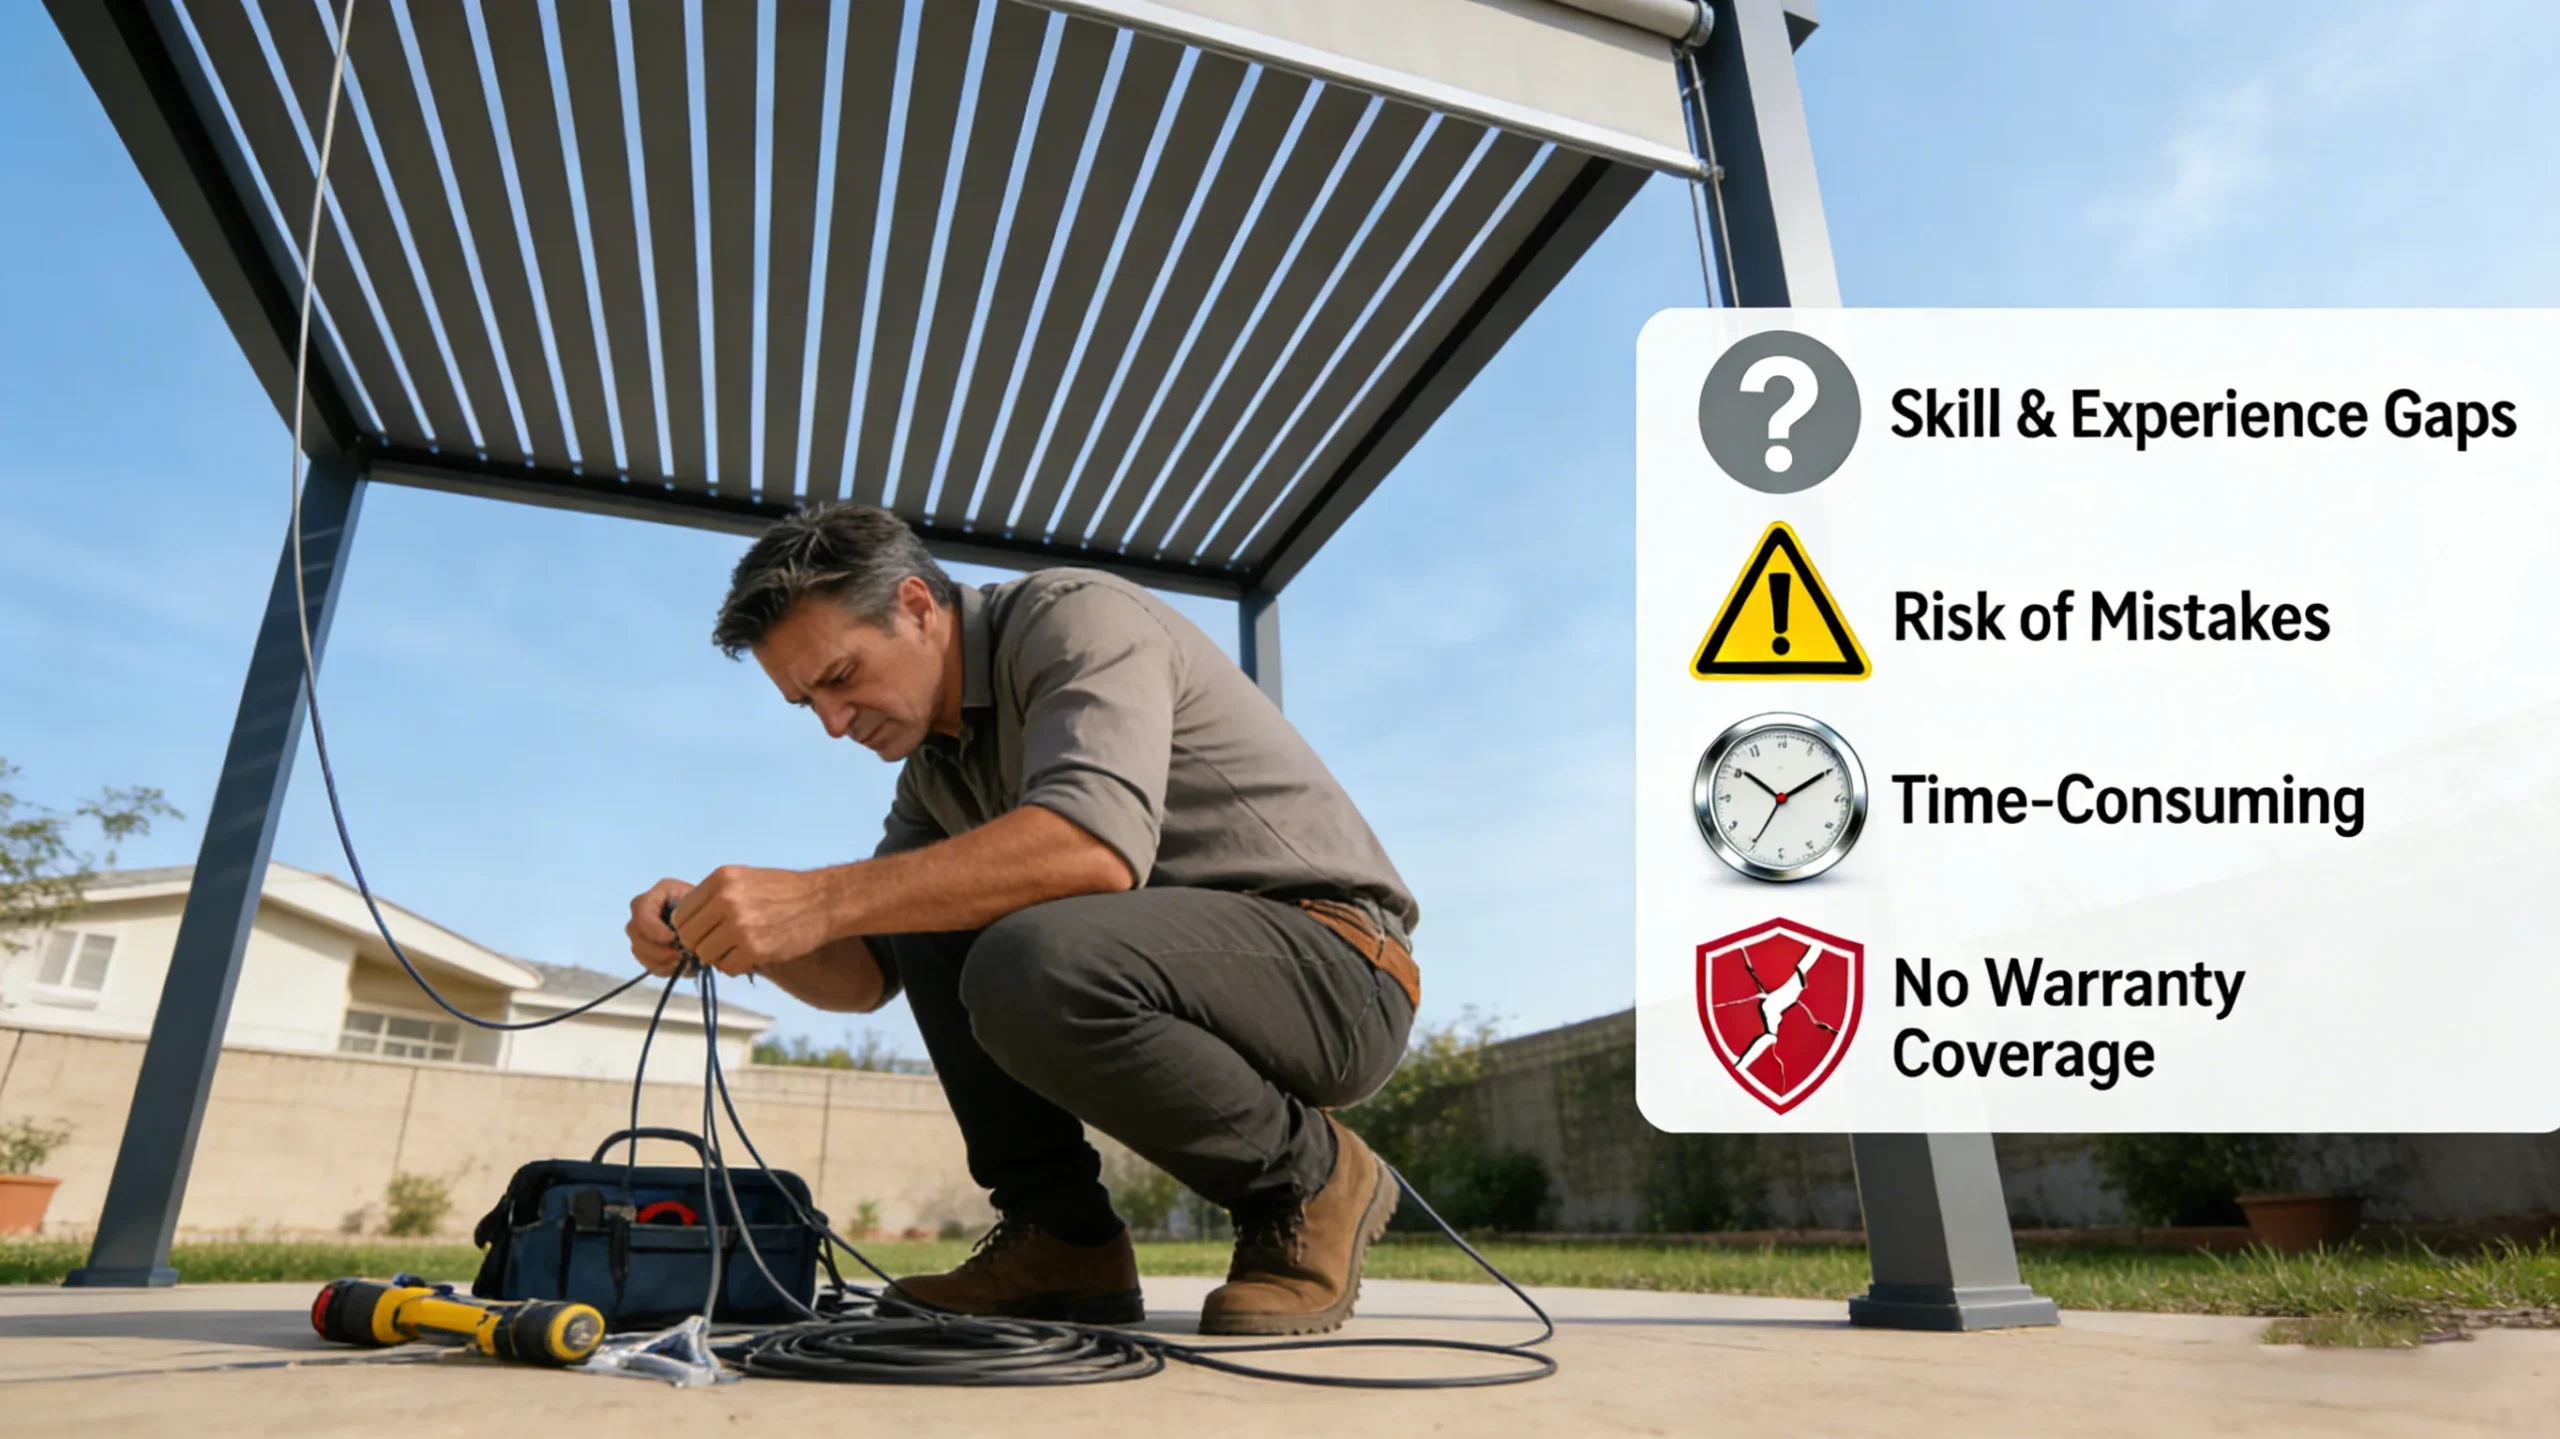
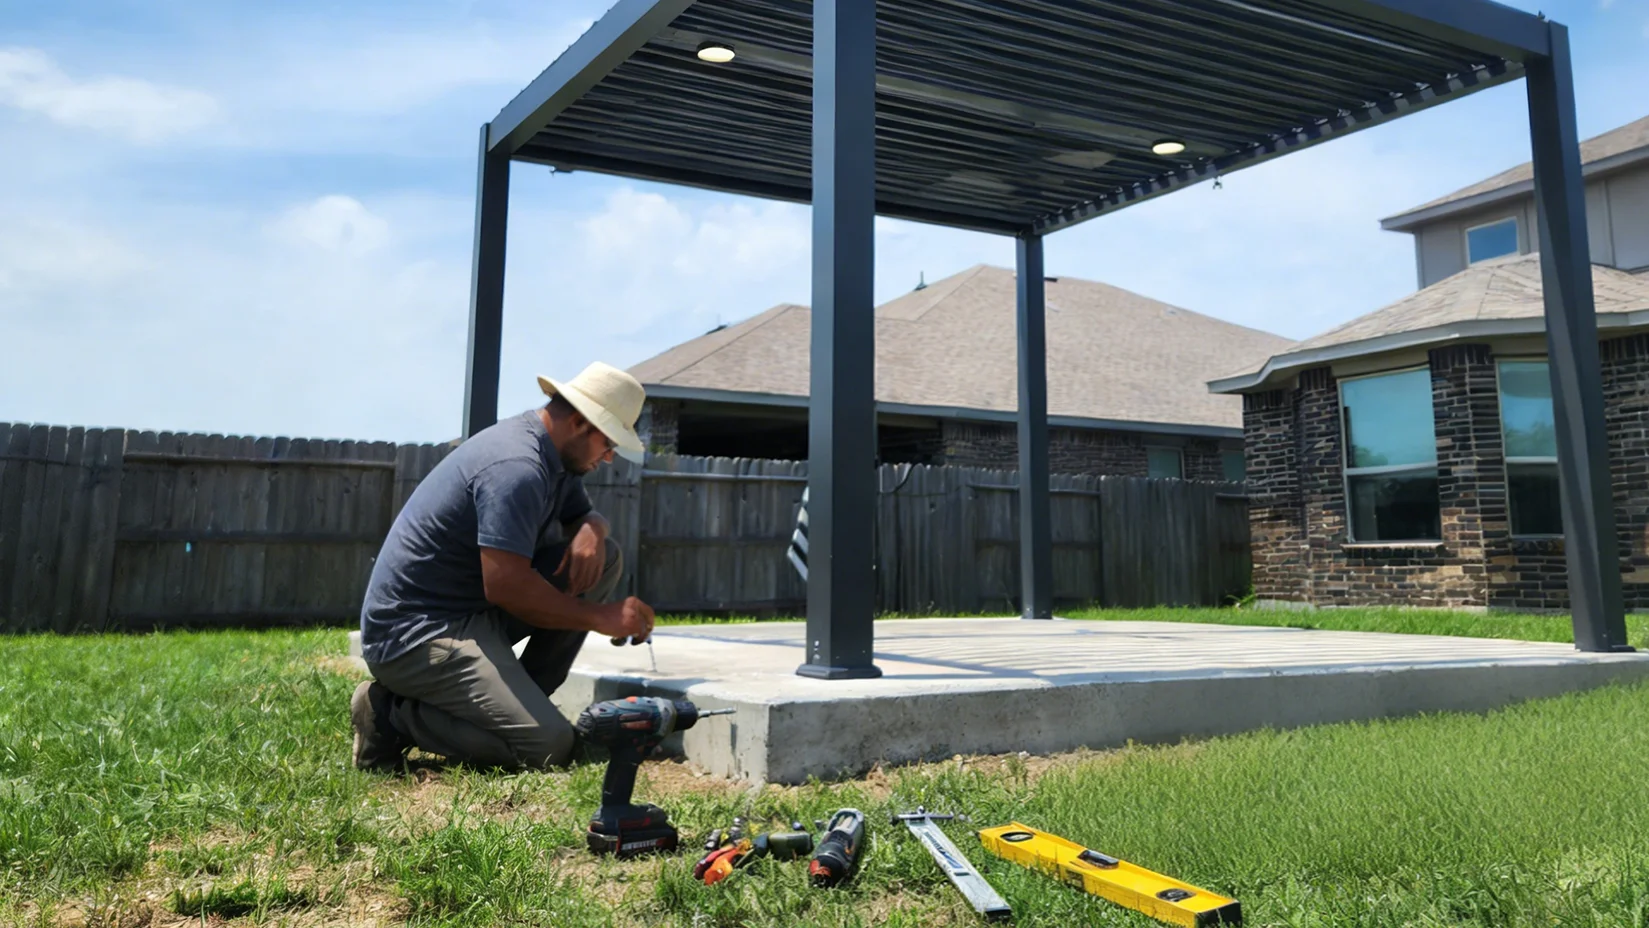
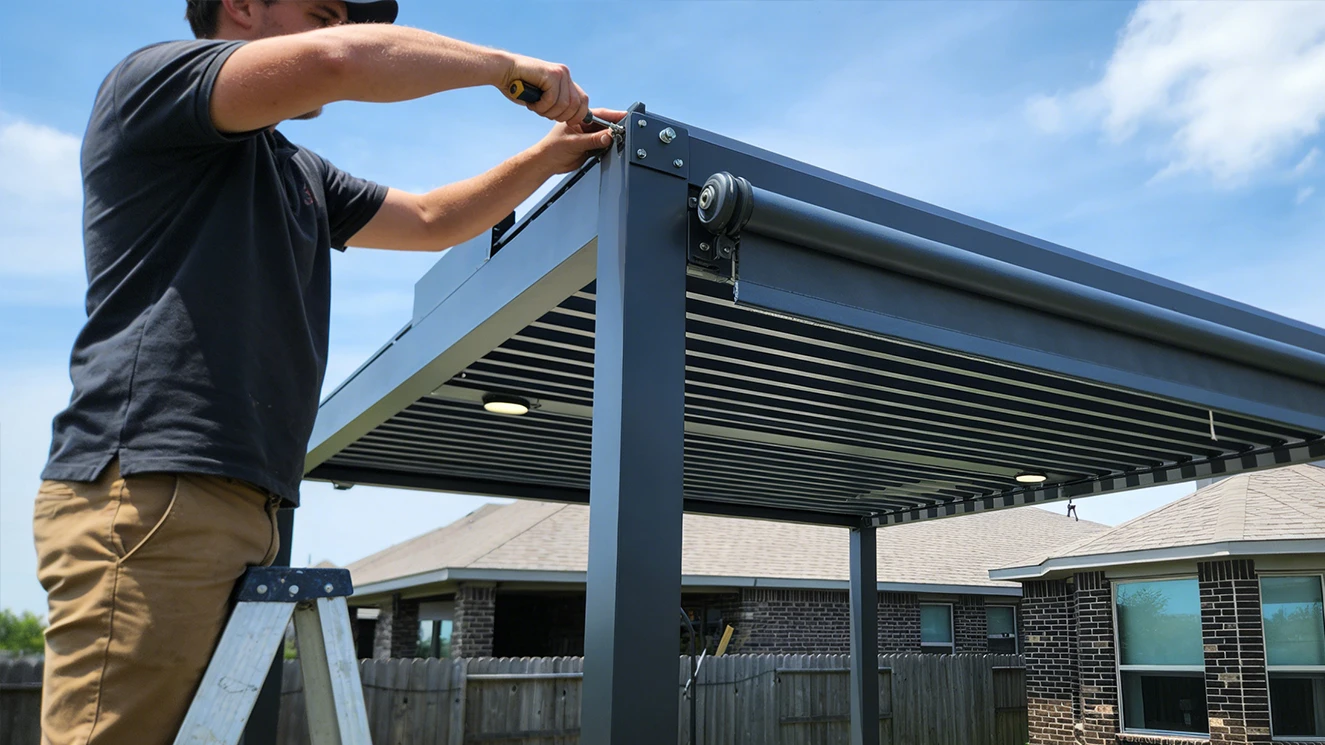
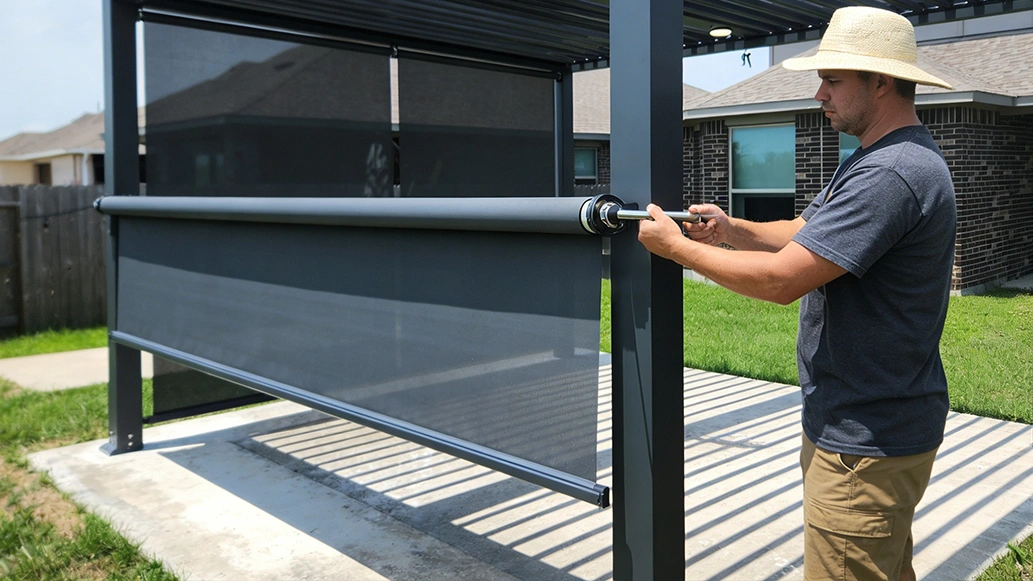
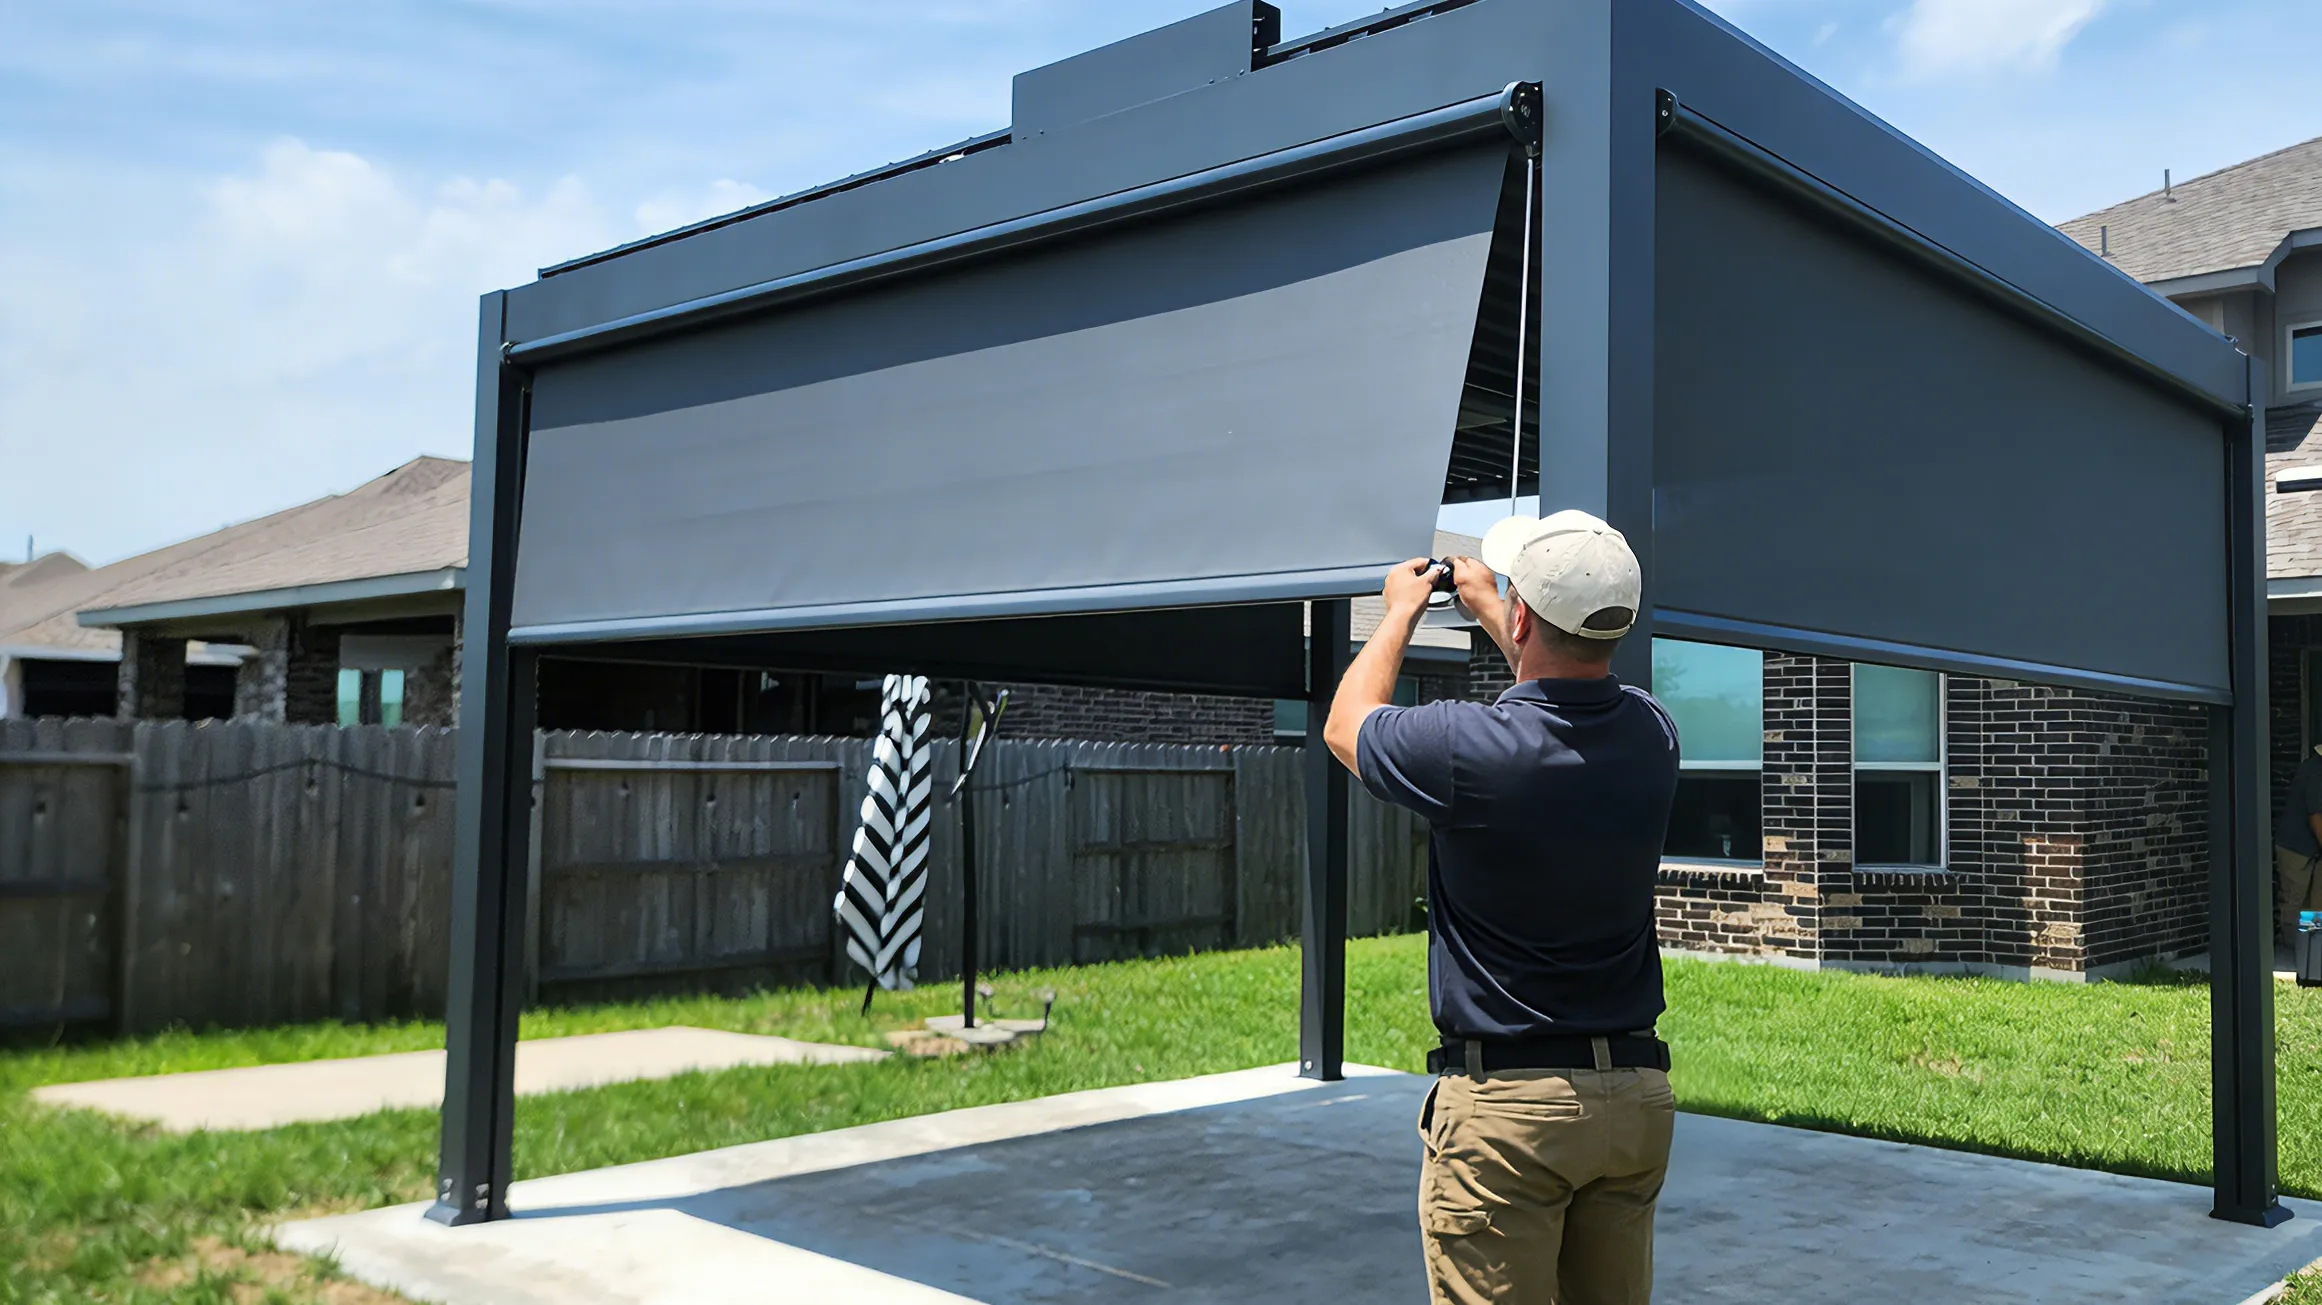
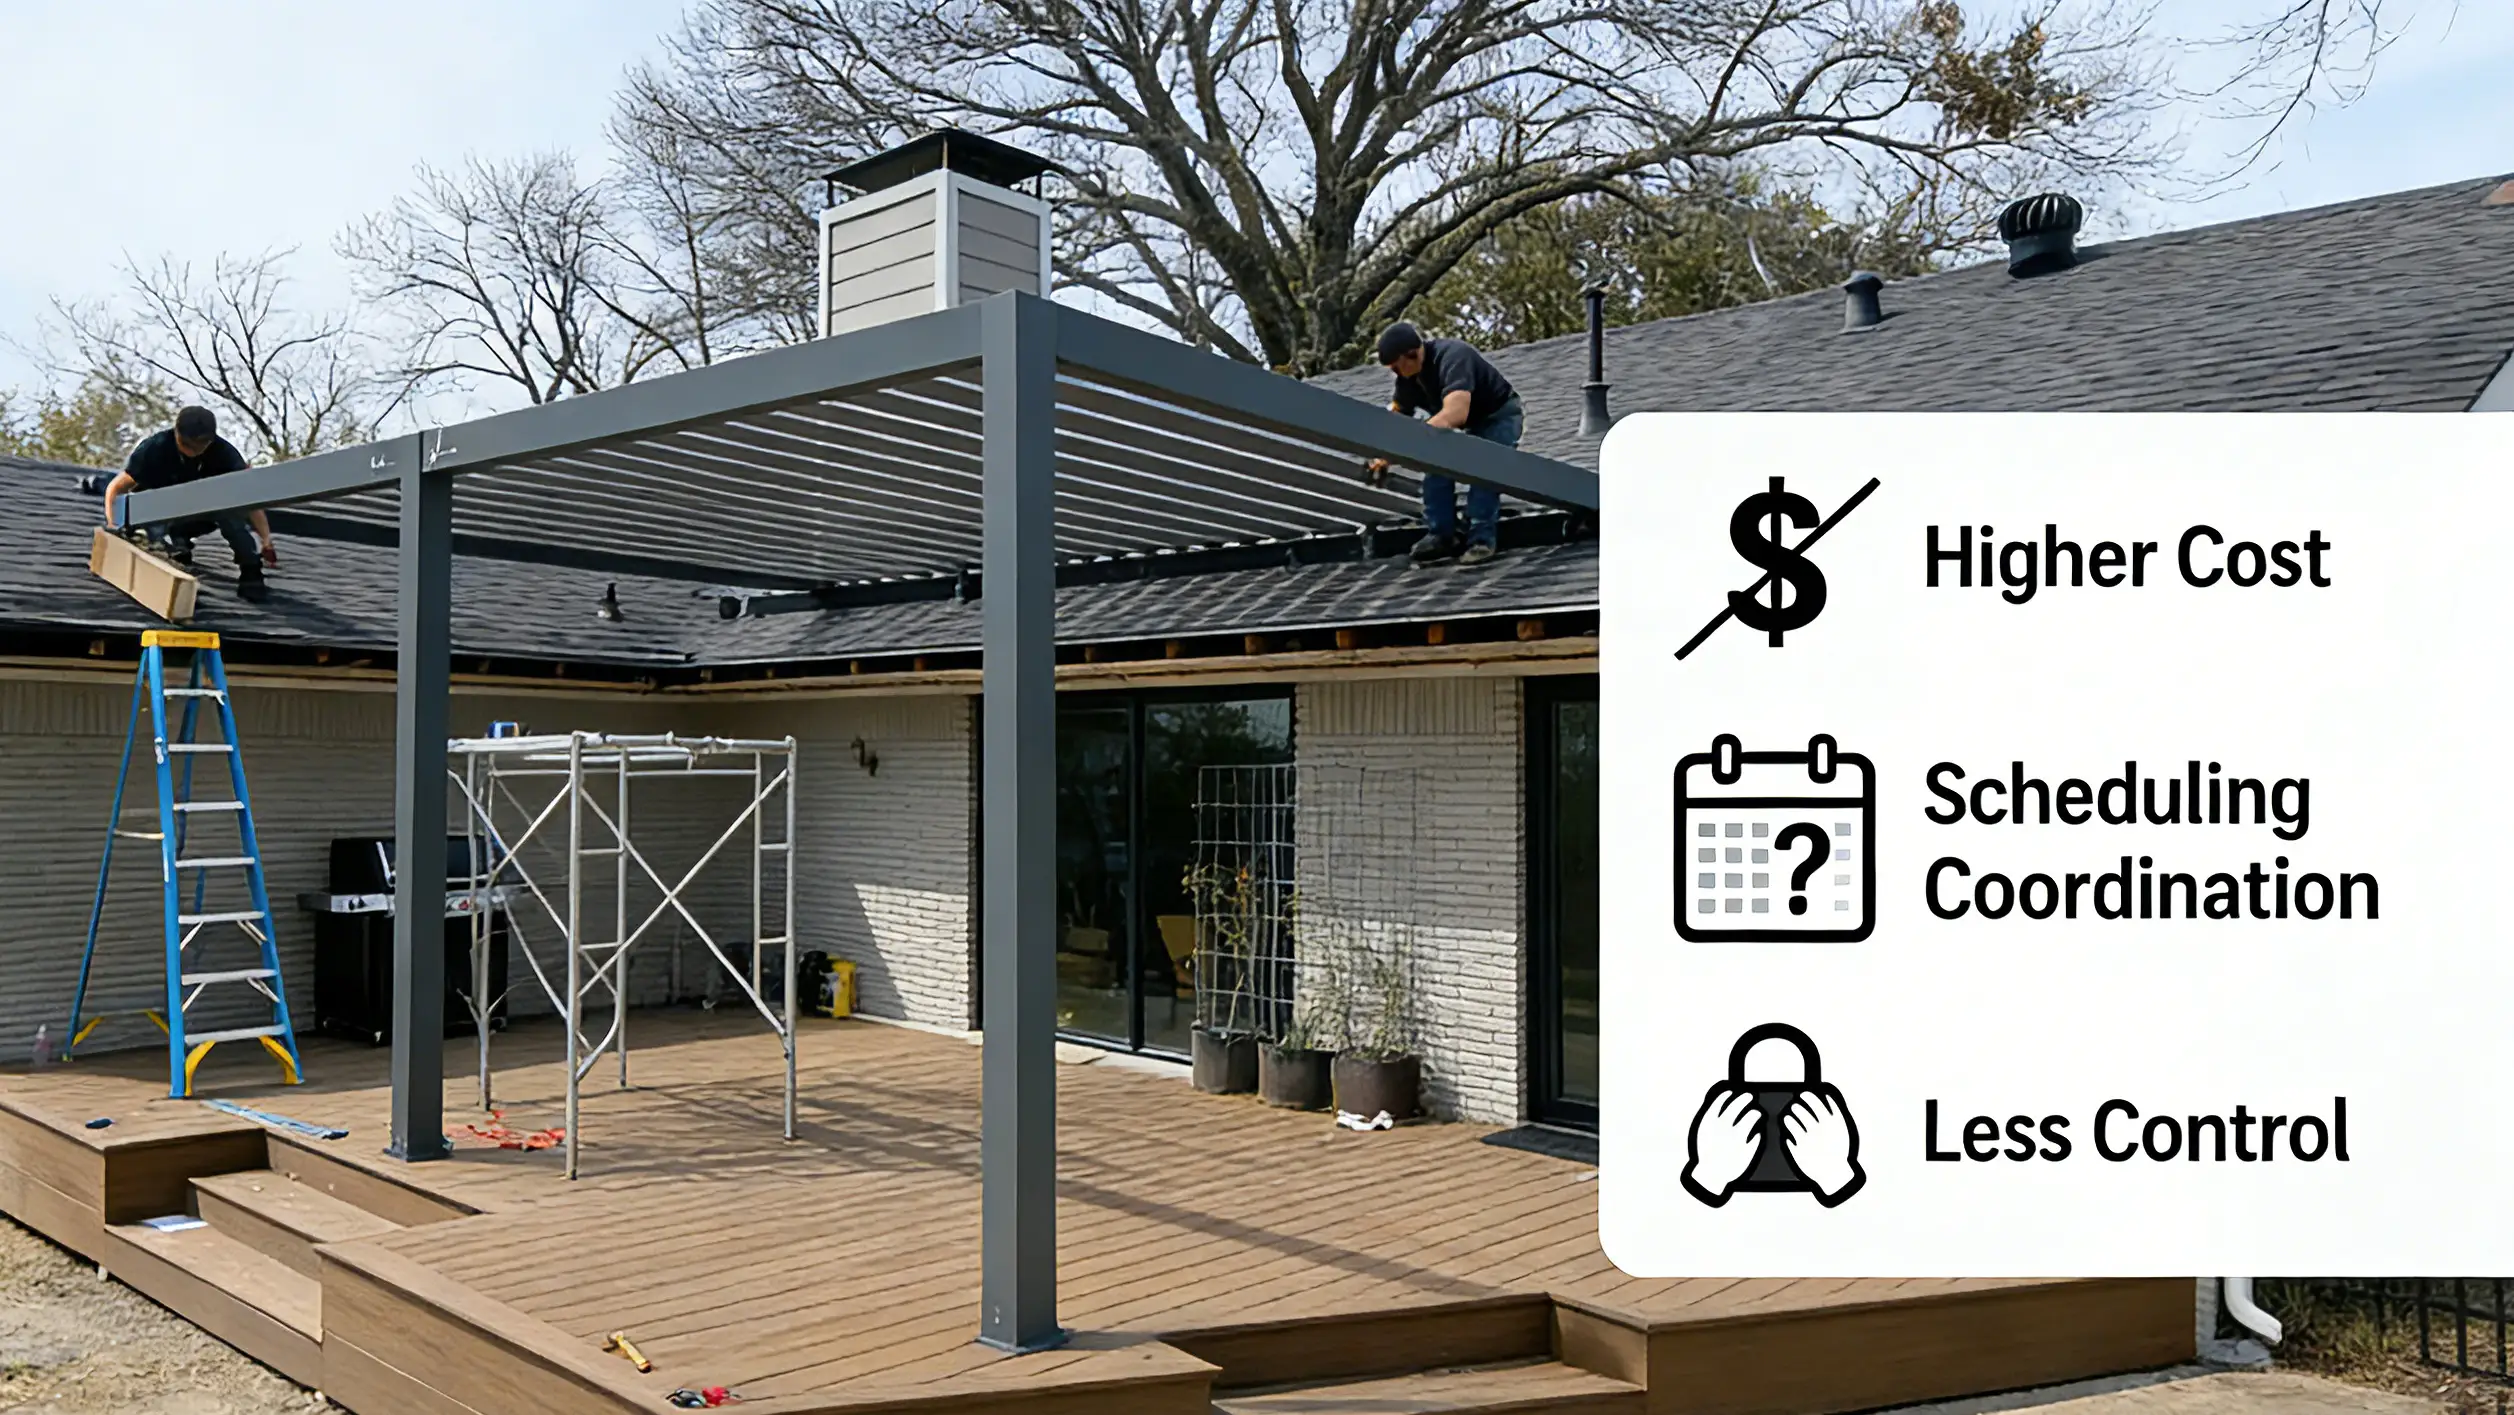
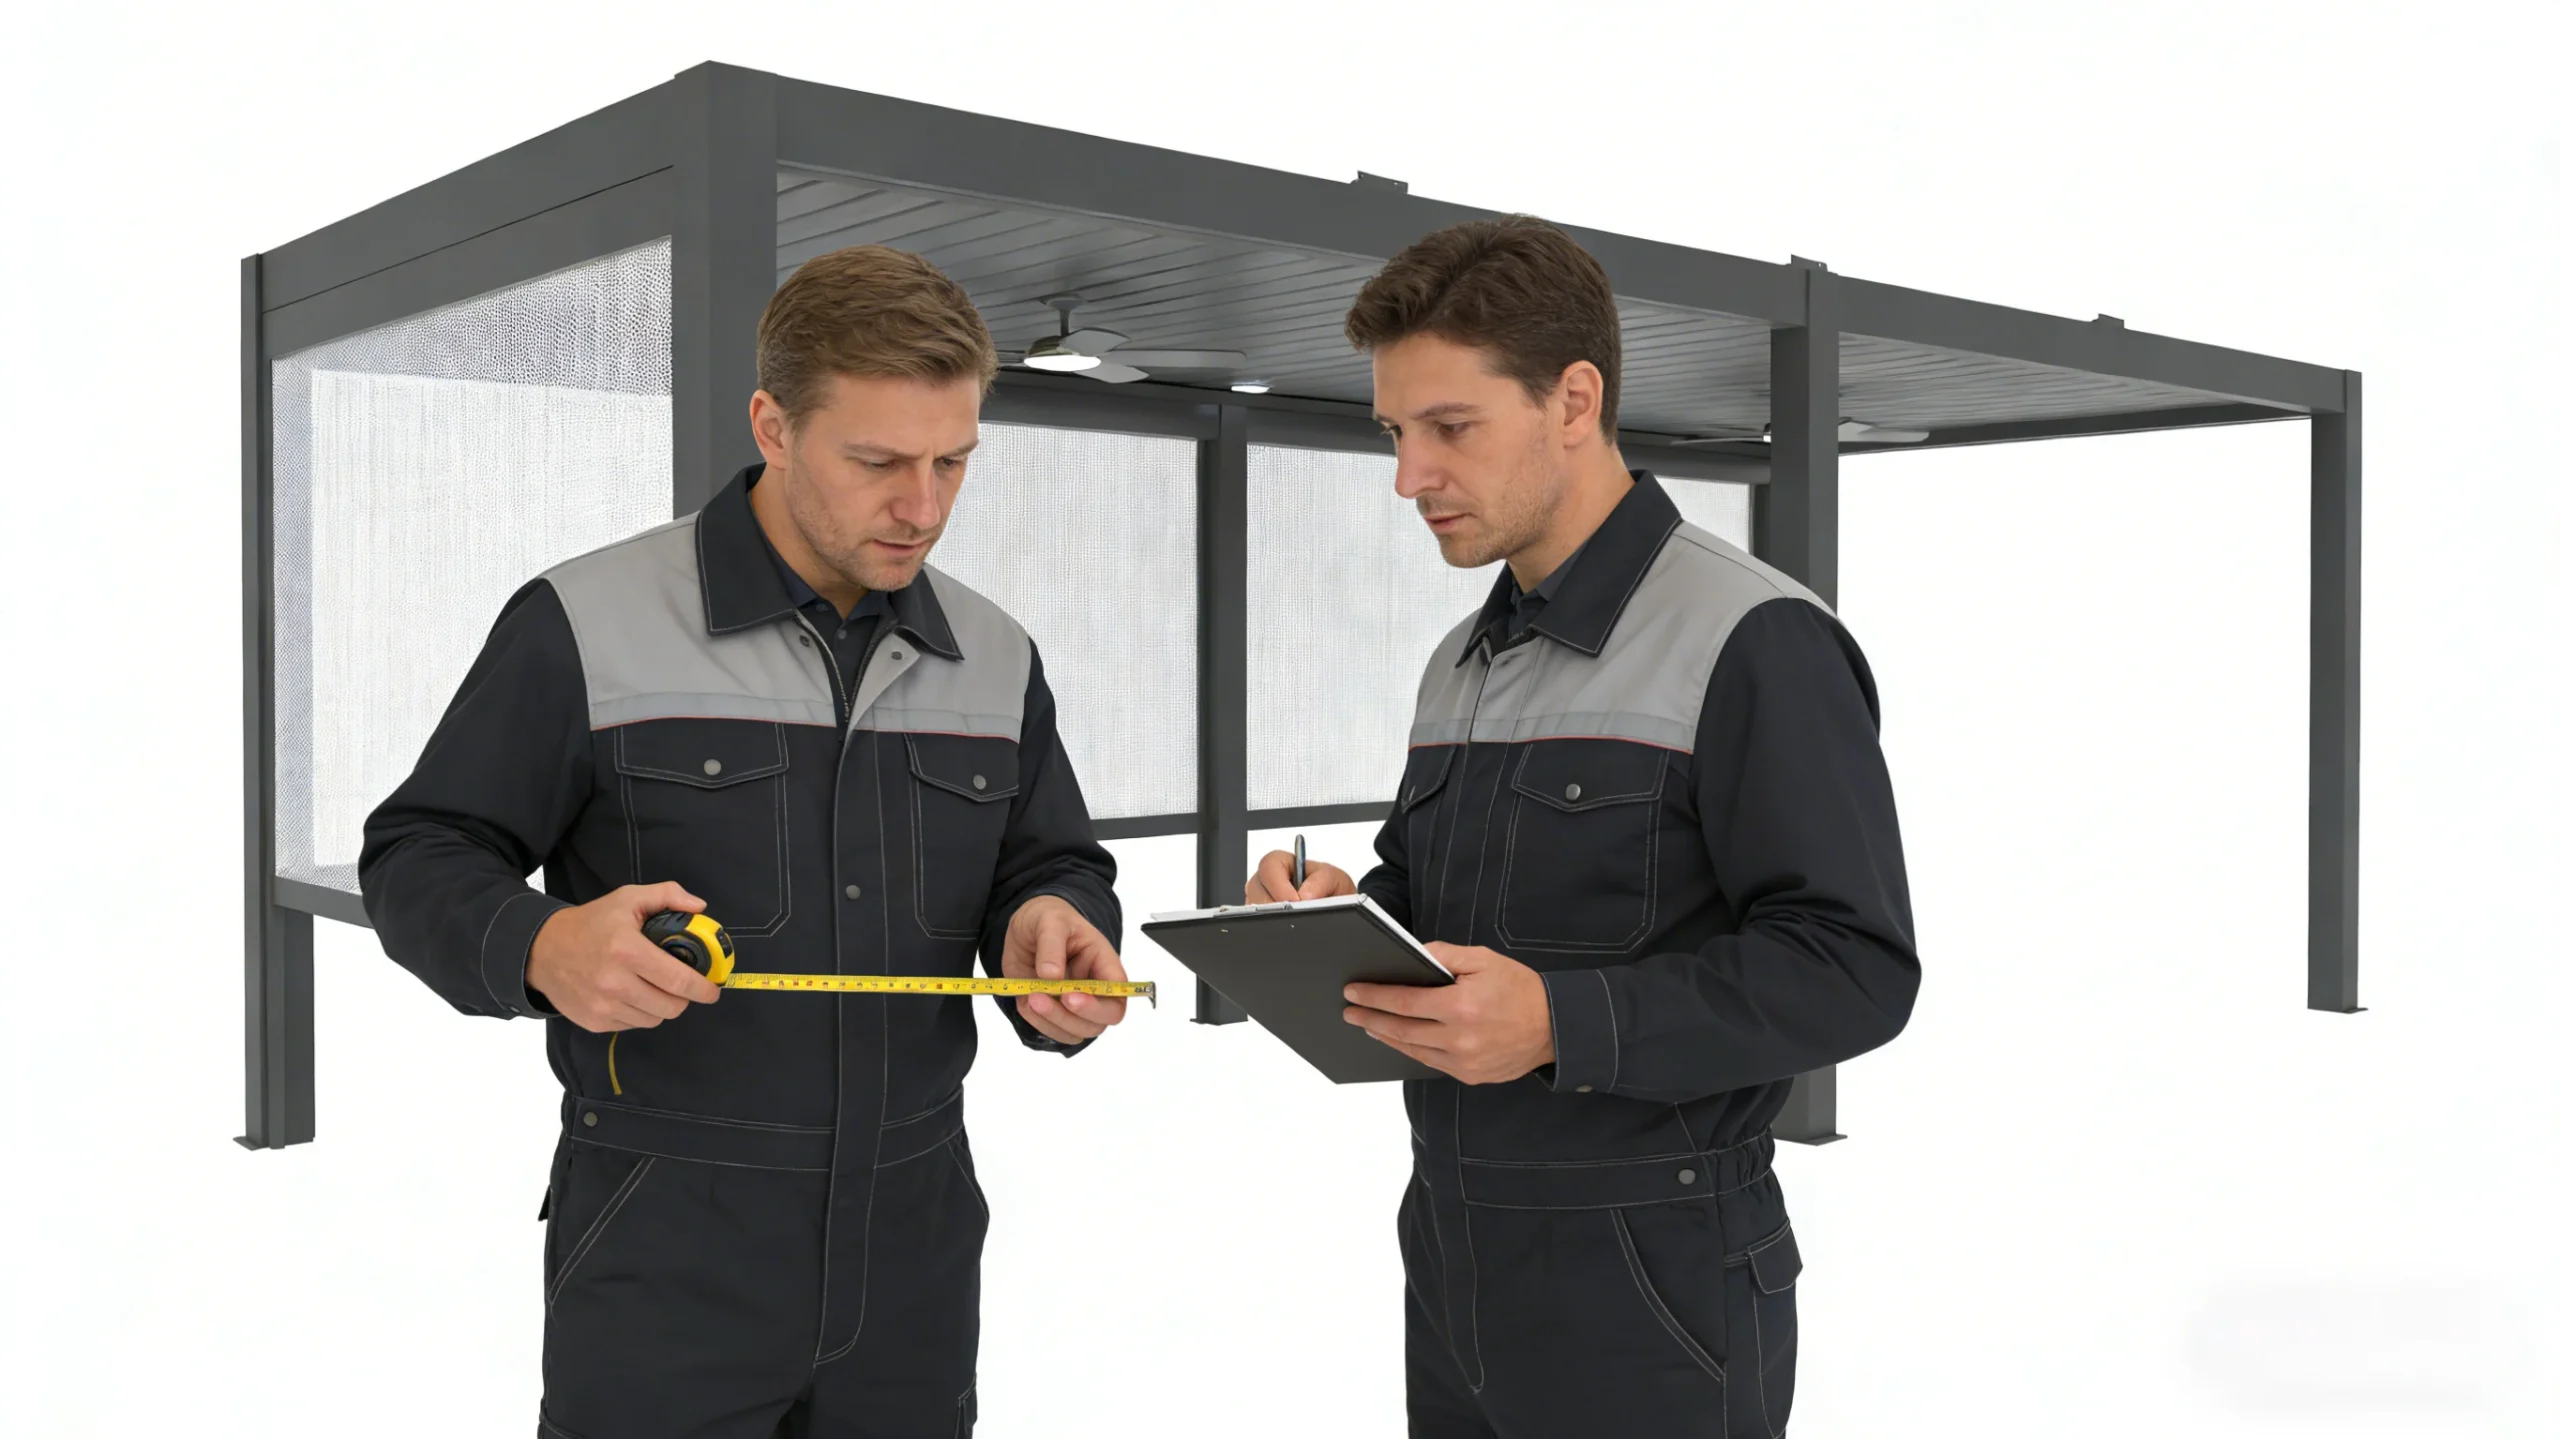
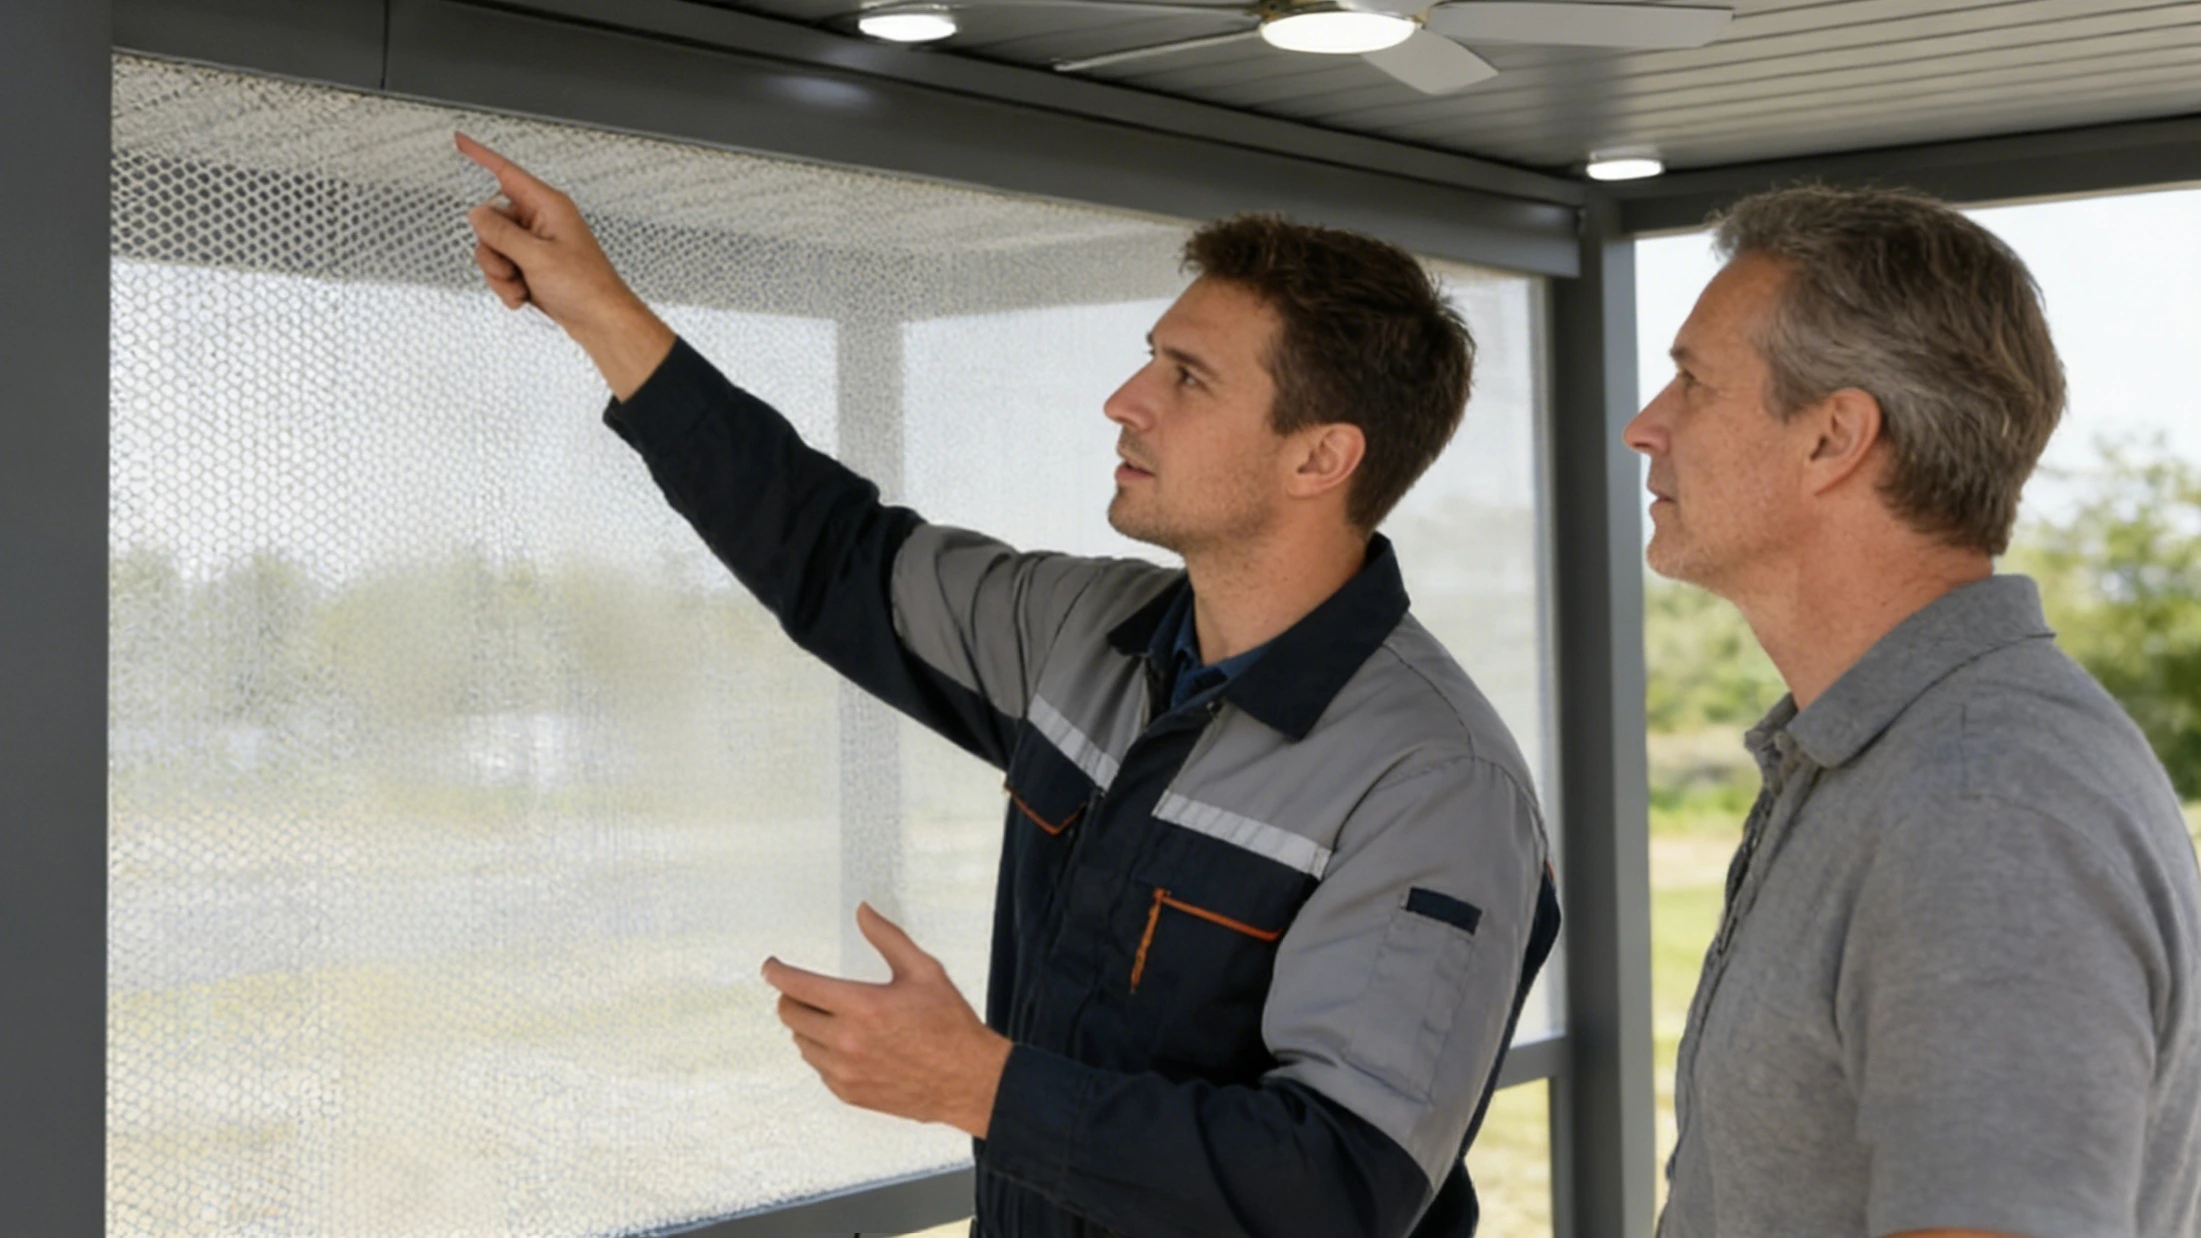
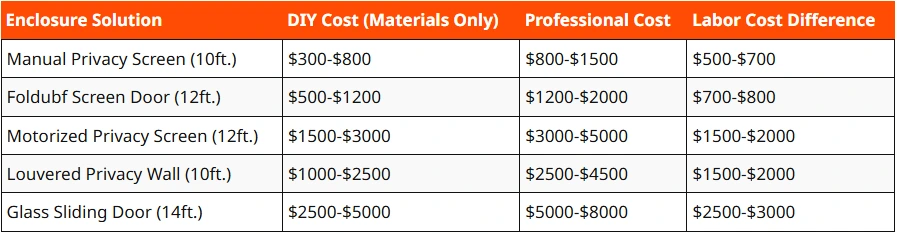
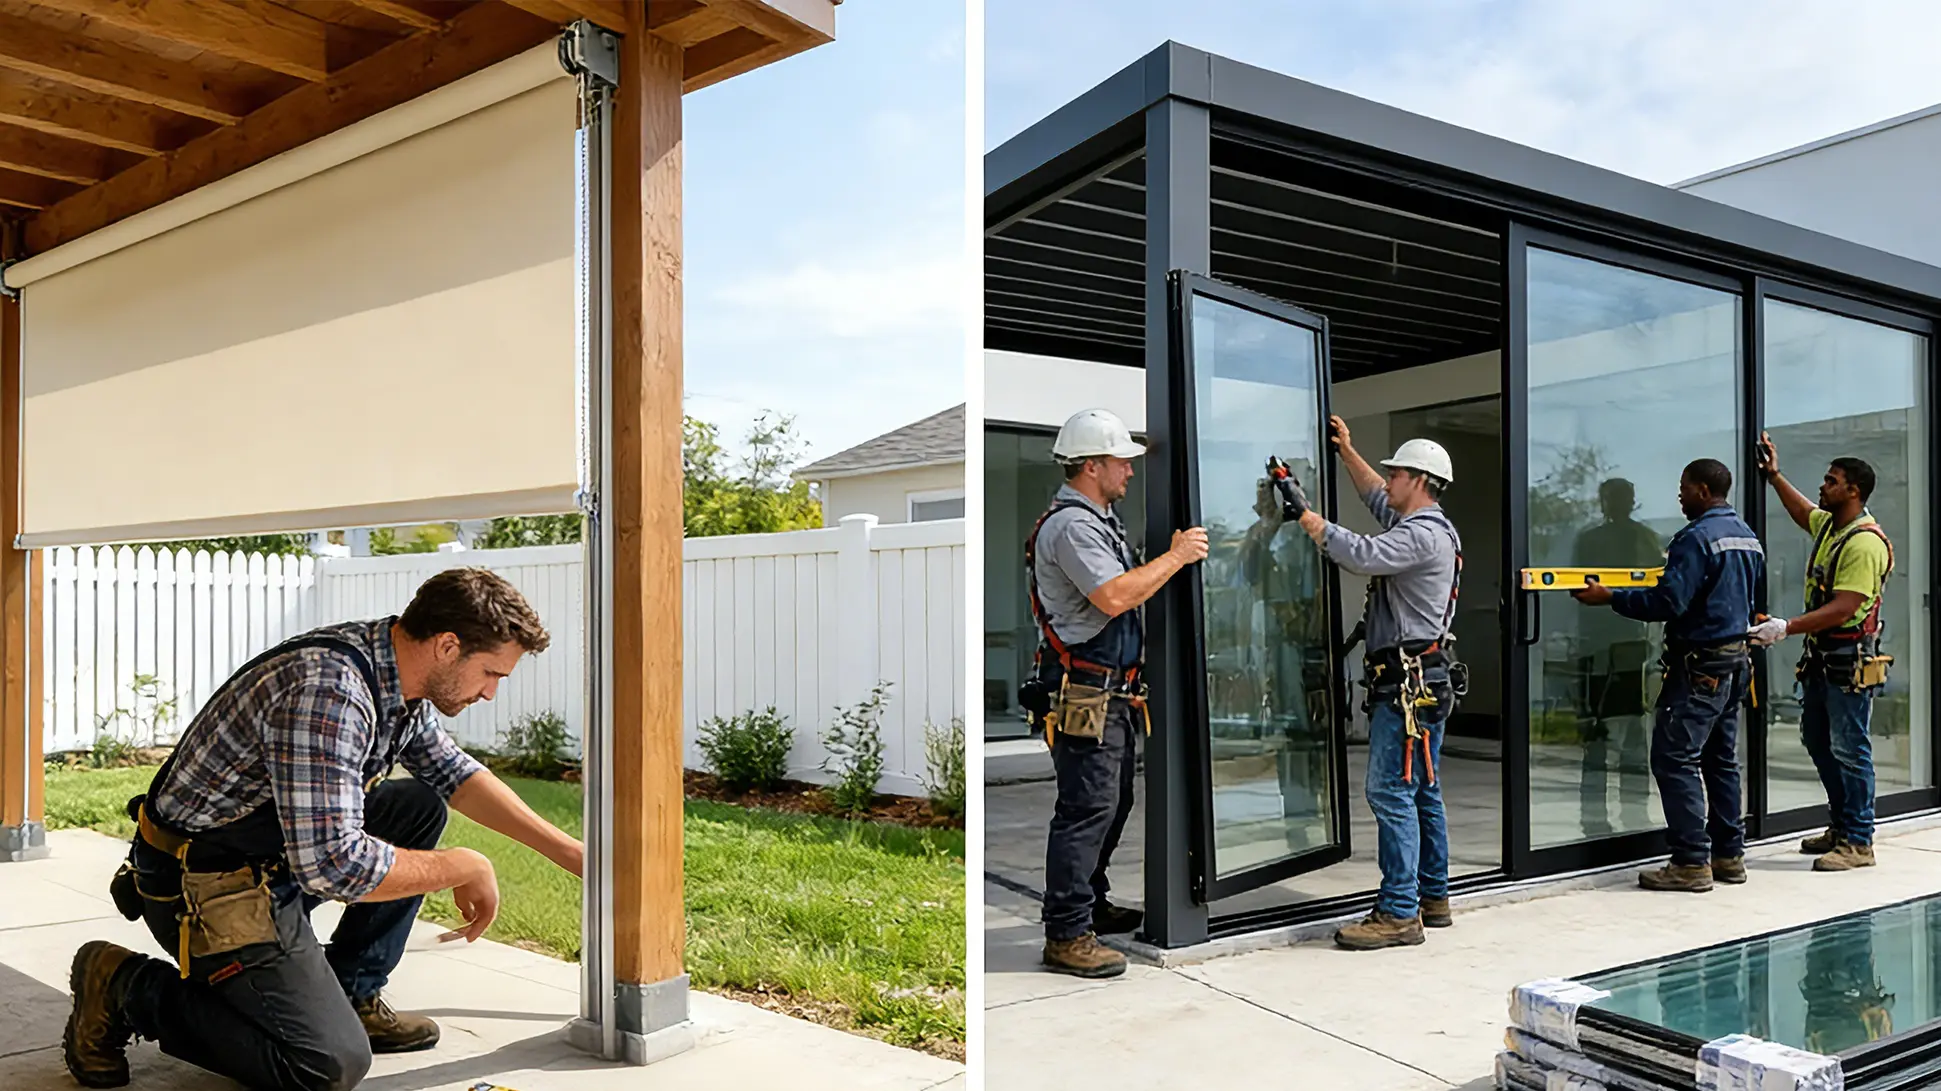
Once you've selected the perfect privacy solution for your enclosed pergola, you'll face a critical decision that determines success: install it yourself or hire professionals? On one hand, DIY installation saves labor costs; on the other, professional installation ensures precision, safety, and optimal performance—especially for complex systems like motorized shades or glass sliding doors. The right choice depends on your skill level, budget, the complexity of your enclosure structure, and your risk tolerance.
This guide thoroughly examines the pros, cons, and cost differences between DIY and professional enclosed pergola installation to help you make an informed decision. We'll break down which privacy solutions are suitable for DIY versus those requiring professional expertise, outline the specific steps for both installation processes, and guide you on avoiding common pitfalls.
For step-by-step DIY techniques for simple solutions, consult our comprehensive guide: Enclosing a Pergola Ideas: Transform Your Outdoor Space (Complete Guide)

1. DIY Enclosing a Pergola

DIY installation is a viable option for budget-conscious homeowners with basic handyman skills—but it’s not one-size-fits-all. Below’s a detailed breakdown of when to DIY, and when to think twice.

1.1 Pros of DIY Installation

  • Cost Savings:  The biggest advantage is avoiding labor costs, which can range from $500-$2,000 depending on the project complexity. For simple solutions, this can cut your total project cost by 20-40%.
  • Flexibility: Work on your own schedule—no need to coordinate with a professional’s timeline, which is ideal for busy homeowners or those who want to take their time.
  • Sense of Achievement: Completing the installation yourself adds a personal touch to your outdoor space and gives you pride in your handiwork.

1.2 Cons of DIY Installation

  • Skill & Experience Gaps: Basic DIY skills (drilling, measuring) are enough for simple projects, but complex systems require specialized knowledge (electrical work for motorized screens, structural framing for privacy walls).
  • Risk of Mistakes:  Mismeasurements, improper sealing, or faulty wiring can lead to leaks, misalignment, equipment failure, or even structural collapse (especially in windy or coastal areas).
  • Time-Consuming:  DIY installation takes longer than professional work—what a pro can finish in a day might take you 2-3 weekends, especially if you’re learning as you go.
  • No Warranty Coverage: Many manufacturers void warranties if installation is done incorrectly by a non-professional, leaving you on the hook for replacement parts or repairs.

1.3 DIY-Friendly Enclosure Solutions

These privacy pergola solutions are designed for easy personal installation, complete with pre-drilled hardware and detailed instructions:

  • Manual Pergola Privacy Screen: Mount the roll-up box onto the pergola beam and secure the bottom track—no complex tools or structural modifications required.
  • Folding Screen Door: Requires installing the track system onto the pergola posts, a straightforward task for those familiar with basic drilling and measuring.

1.4 DIY Installation Step-by-Step (For Simple Solutions)

For manual retractable screens or folding screen doors, follow these basic steps (always refer to the manufacturer’s instructions for your specific product):
 1. Measure Twice, Cut Once: Confirm your pergola’s dimensions to ensure the enclosure fits. Measure the crossbeams (for screens) or posts (for folding doors) and double-check against the product’s specifications.
  2. Gather Tools: You’ll need a drill, screwdriver, level, tape measure, and the mounting hardware included with your product (use corrosion-resistant screws for outdoor use).


3. Mount the Frame/Track: For screens, attach the roller housing to the crossbeam using the included brackets (ensure it’s level to prevent jamming). For folding doors, install the top and bottom tracks onto the posts, ensuring alignment.
4. Attach the Screen/Door: For manual screens, secure the bottom track to the pergola’s base. For folding doors, hang the door panels on the track.
5. Test & Adjust: Roll up/down the screen or open/close the folding doors to ensure functionality. Make minor adjustments (tighten brackets, realign tracks) if needed.

2. Professional Enclosed Pergola Installation

Professional installation is essential for complex, high-value, or structurally critical enclosure solutions—ensuring safety, durability, and optimal performance.

2.1 Pros of Professional Installation

Professional pergola enclosure installation: infographic highlighting benefits (Precision, Safety, Time Efficiency, Warranty, Problem-Solving)
  • Precision & Expertise: Pros have the skills, tools, and experience to handle complex tasks (electrical work, structural framing, precise measurements) that DIYers can’t match.
  •  Safety & Durability: Professional installation ensures your enclosure is built to withstand wind, rain, and other weather conditions—critical for coastal or harsh climates.
  • Time Efficiency: Pros can complete most installations in 1-2 days, saving you time and hassle.
  • Warranty Coverage: Most manufacturers honor warranties for professional installations, and many pros offer their own labor warranties.
  • Problem-Solving: Pros can handle unexpected issues (like uneven pergola frames or incompatible materials) that would derail a DIY project.

2.2 Cons of Professional Installation

Cons of Professional Installation-Higher Cost, Scheduling Coordination and Less Control
  • Higher Cost: Labor costs add to your total project budget—expect to pay $50-$100 per hour for professional installation, with total labor costs ranging from $500-$5,000 depending on the project complexity.

  • Scheduling Coordination: You’ll need to work around the pro’s schedule, which may require taking time off work or adjusting your plans.

  • Less Control: While you can provide input, you won’t be hands-on with the installation process (though this is a pro for many homeowners).

2.3 Solutions That Demand Professional Installation

These solutions require specialized expertise to ensure safety and performance:
Professional Installation-Motorized Privacy Screen
Professional Installation-Louverd Privacy Wall
Professional Installation-Glass Sliding Door
  • Motorized/Solar Privacy Screens: Integration with solar systems requires proper wiring, panel alignment, and power connection—errors can lead to equipment failure or reduced efficiency.
  • Pergola Privacy Walls (Louvered & Solid): Require precise structural framing for stability (critical for withstanding wind pressure, especially in coastal areas).
  • Glass Sliding Doors: Demand accurate measurements to prevent gaps (which compromise privacy and weather resistance) and proper sealing to avoid leaks. The door’s weight also requires proper support from the pergola’s posts.
  • Custom-Sized Solutions: For pergolas outside standard sizes (10ft, 12ft, 13ft, 14ft), pros can create tailored designs and ensure a snug fit that DIY kits can’t match.

2.4 What to Expect from Professional Installation

The professional installation process typically follows these steps:

Professionals assess the pergola, confirm dimensions, and discuss objectives.

1. Consultation & Measurement: The pro will visit your home to assess your pergola, confirm dimensions, and discuss your goals (e.g., solar integration, coastal durability).

2. Customization (If Needed): For custom-sized solutions, the pro will create a design and order materials tailored to your pergola.

For custom-sized solutions, professionals create designs and order bespoke materials.
Professionals prepare the pergola site, including reinforcing the frame and cleaning the area to ensure a stable installation surface.

3. Preparation: The pro will prepare the pergola (reinforce the frame if needed, clean the area) to ensure a stable installation surface.

4. Installation: The pro will install the enclosure using specialized tools and techniques—for example, integrating solar screens with your pergola’s solar system, aligning louvered tracks, or sealing glass doors.

Pros install gazebo structures using specialized tools and techniques.
Pros test the functionality of the building envelope and then provide step-by-step guidance on its use.

5. Testing & Walkthrough: The pro will test the enclosure to ensure functionality, then walk you through how to use and maintain it (e.g., remote control operation for motorized screens).

3. Cost Comparison: DIY vs. Professional Installation

Below is a breakdown of average costs for common enclosure solutions (materials + labor for professional installation; materials only for DIY):

Enclosure SolutionDIY Cost (Materials Only)Professional CostLabor Cost Difference
Manual Privacy Screen (10ft.)$300-$800$800-$1500$500-$700
Foldubf Screen Door (12ft.)$500-$1200$1200-$2000$700-$800
Motorized Privacy Screen (12ft.)$1500-$3000$3000-$5000$1500-$2000
Louvered Privacy Wall (10ft.)$1000-$2500$2500-$4500$1500-$2000
Glass Sliding Door (14ft.)$2500-$5000$5000-$8000$2500-$3000

Note: Costs vary by location (coastal areas may have higher labor costs), material quality, and customizations. DIY costs also include tools if you don’t already own them (e.g., a drill, a level).

4. How to Decide: DIY vs. Professional Installation

Use this 5-question checklist to make your decision:


1. Do you have basic DIY skills (drilling, measuring, and level use)?

If no, hire a pro—even simple projects will be frustrating and risky.


2. What type of enclosure are you installing?

Simple solutions (manual screens, folding doors) = DIY;

complex solutions (motorized screen, glass doors, privacy walls) = pro.


3. Do you live in a coastal or harsh climate?

Professional installation is recommended—ensures proper sealing, structural stability, and corrosion resistance.


4. What’s your budget?

If labor costs stretch your budget too thin, DIY simple solutions (but factor in potential repair costs if you make mistakes).


5. Do you value warranty coverage?

Professional installation ensures warranty protection—critical for high-cost solutions like glass doors or solar screens.

5. Conclusion

Choosing between DIY and professional installation for your enclosed pergola hinges on your skill level, budget, and project complexity.

If you possess basic hands-on abilities, DIY installation is an ideal cost-saving option. For complex, high-value projects or those in demanding climates, professional installation is a worthwhile investment—ensuring safety, durability, and peace of mind.
After installation, follow our maintenance guide to keep your enclosed pergola in top condition: Enclosed Pergola Maintenance: Care Guides for Screens, Walls & Doors

For assistance selecting privacy solutions suited to your pergola (and matching your installation capabilities), consult the comprehensive guide: Enclosing a Pergola Ideas: Transform Your Outdoor Space (Complete Guide)

Back to top of page
crossmenu